Date: 06-28-2026
|
Number of Hours: 0.00
|
Short Description: Step 1 - 5
|

|
Removed the shar edges with a snding belt. While that worked pretty well, I am not sure if this really had the effect of "a tighter seal". In the end the flutes were way more extending than any "sharp" edges.
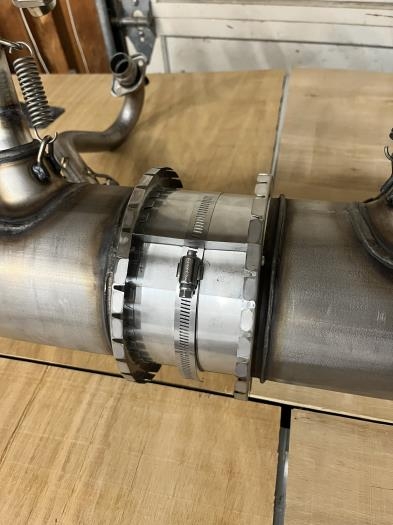
Installation of the heat muff ribs required some force, as the ribs with my flutes showed quite some tension. Therefore, the ribs helt exactly in the position I put them, without the need to tighten the inner lids, as suggested by the KAI if that had been the case. Installation of the heat muff dam goes with the rib screws and was very easy. Tightened all screws by hand and marked with green viz torque to see any loosening by vibration (hoping the viz torque withstands the expected temperatures).
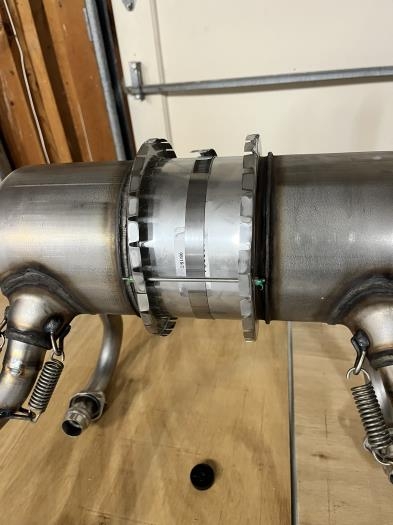
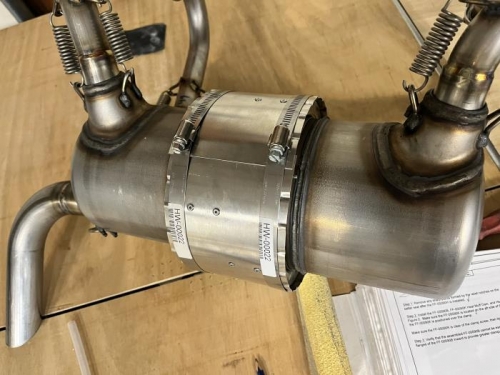
Last, set the heat muff outer skin in place with the inlet above and the outlet below the dam, installed left and right clamp and tightened (not too much) into position, understanding that the final torquing will follow once the exhaust is in place under the engine..
260628 48-04 (2).jpg
|
260628 48-04 (3).jpg
|
260628 48-04 (5).jpg
|
|