Brief Description: Installed the rear baffle of the left tank
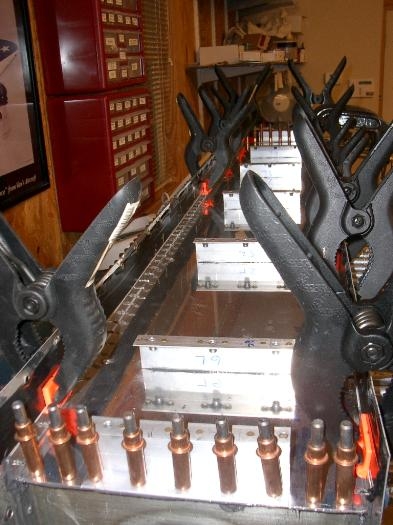
Installed the rear baffle of the left tank. After much thought and study, I could no longer avoid starting this final step that seals the tank. No more access to the interior. Questions of will it leak?
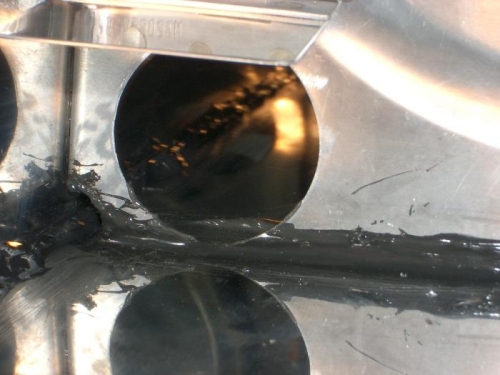
The assembly was straight forward except that I didn't place a bead of proseal on the inside edge of the inboard and the outboard ribs. Half way through the clecoing of the baffle in place, I realized the missing bead. I did place a thin layer of proseal on the flange but I was concerned that it would not be enough to prevent leaks from the end ribs. I removed the clecoes, lifted the baffle enough to place a bead on each end rib then finished the clecoing of the baffle. The first bay appears to have plenty of sealant protruding from the joint between the skin and the baffle.
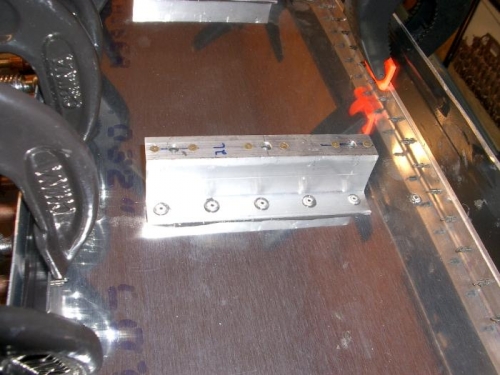
The blind riveted tank attachment brackets were straight forward. Proseal was applied around the holes prior to placing the brackets on the baffle, Proseal was swirled on each rivet prior to insertion.