Brief Description: Taped the Windscreen, Top Skin & Canopy
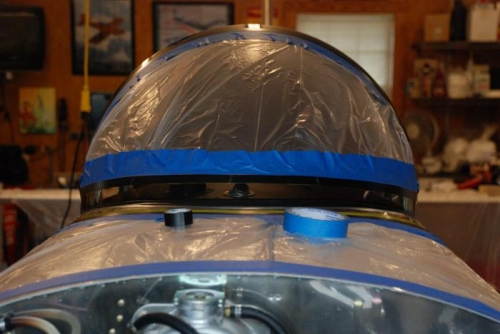
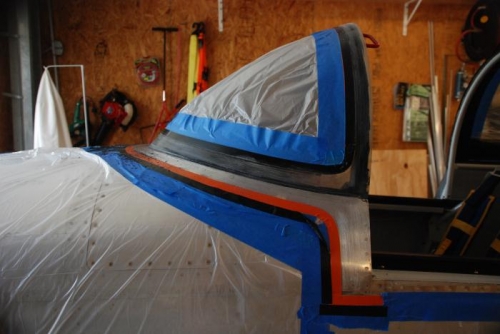
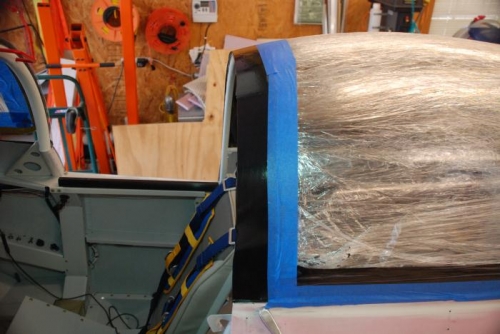
Taped the Windscreen, Top Skin & Canopy in preparation to start fiberglassing the windscreen fairing. I used a 4" piece of PVC pipe to get an idea of the contact points of the radius on the windscreen and the top skin. The tape on the top skin was laid about one inch beyond the contact point of the pipe to estimate the extent of the blended forward part of the fairing with the top skin. The top line of tape along the windscreen needed to be run slightly above the contact point of the pipe on the windscreen in order to cover a few points on the windscreen that got contaminated with some Sikaflex primer during the gluing process. I thought I had all of the windscreen well covered to prevent this from happening but it just goes to show you that shit happens. Overall, not a terribly bad thing, it just needs a bit higher glass to cover the primer. The tape on the windscreen was initally laid with yellow 3M electrical tape then covered with orange 3M electrical tape, followed by some black electrical tape. Should the black tape be sanded through, the orange will warn of the breakthrough. If the orange is breeched, the screaming yellow will raise the red flag to stop before sanding through to the windscreen itself. In the end, the combined orange and yellow tapes' thickness will define the thickness of the fairing at its junction with the windscreen.