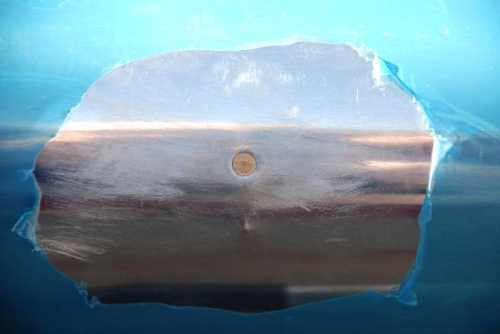
I initially lightly sanded the crack with 300 grit paper then drilled the crack woth a #40 drill bit. This hole was opened to #30 next. That was the end of the easy parts!
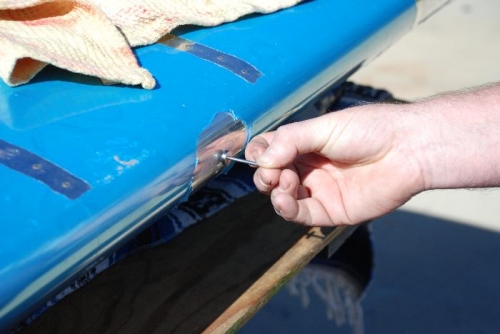
Tried using a third hand grasper with a magnetic end to insert the nail of the Avery rivet puller #30 dimpler. The device trooped to much to be able to reach the hole in the leading edge and the nail kept falling over onto the magnetic end. Tried super gluing the nail tip to a copper wire to pull and guide the nail tip to the hole. This initially looked promising but at the last second, the glue joint separated. There wasn't enough strength in the bonding to make another effort worth it. What finally worked was when I super glued the nail to a dowl rod and tapered the dowl to make sure it fit into the curve of the leading edge. The hole was deburred earlier using a Cogsdill Burraway device and now dimpled without any further problems.
After practicing riveting/bucking a soft rivet, a AN 4264A-4 rivet was installed in the hole of the leading edge. The result was pretty good. Filler during the painting process should make the repair hard to notice. I cleaned and surface converted the scuffed leading edge surface to prevent corrosion.