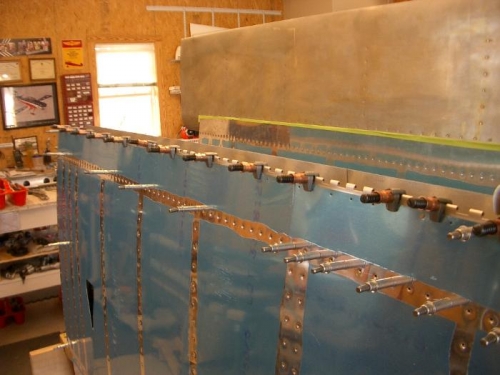
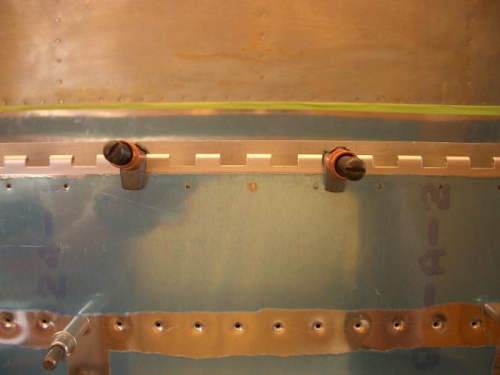
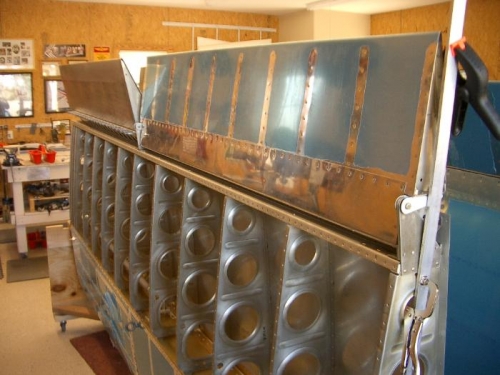
Attached the Rt flap. This went very well. From lessons learned from the Lt flap, I changed the wing flap hinge half to the -4 hinge. After clamping the hinge into the proper position, the hinge was drilled, deburred, then re-attached to the flap brace to act as a pilot guide for the countersunk cutter. The countersunk holes were surface converted then the flap was clecoed to the wing without the skins in place. The skins were removed to dimple the flap attachment holes. The Right flap is now ready for final attachment when the bottom of the wing is closed.