Installed the MT Propeller after the wiring to the prop controller was corrected. The wiring in the connector that I received with the prop controller did not match that of the instructions. The sensor wires were in positions 6 and 7 instead of 4 and 5. Positions 4 and 5 had power and ground connections instread of being in the 6 and 7 positions of the 9 pin d-sub connector. The connector was re-wired using a crimped pin d-sub connector instead of the soldered pin connector that came with the controller.
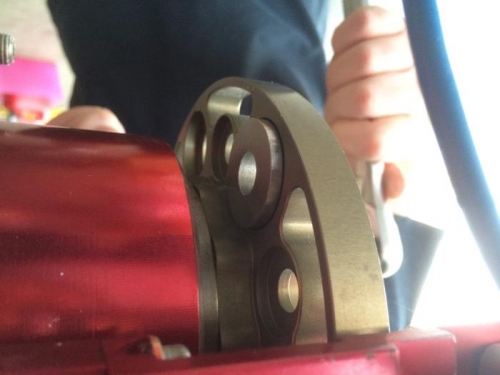
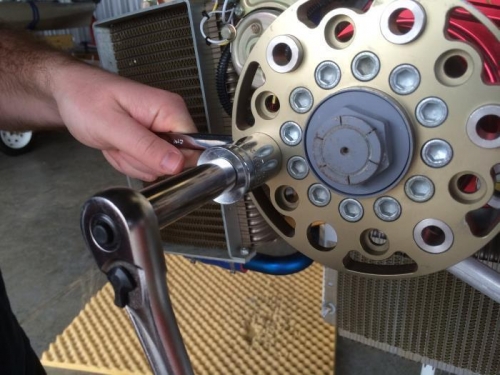
Press fitted the prop bushings into the prop flange of the engine. Used a 5/16" fully threaded 3" bolt and washer passed through the aft side of the bushing. The bolt was then passed through a socket that fit over the front of the engine prop flange hole. Then a pair of washers were installed under the nut that pulled the bushings into place as it was tightened.
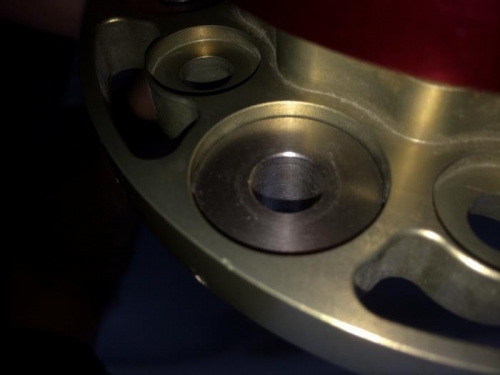
Installed the Propeller using new AN7-20 bolts and new locking metal stop nuts. Needed to install two washers under the nuts to be able tighten the bolts. Otherwise, the nuts bottomed out and the bots continued to spin in the holes as they were not tightened enough.