Brief Description: Installed Three Skybolts on Lower Front of Cowling
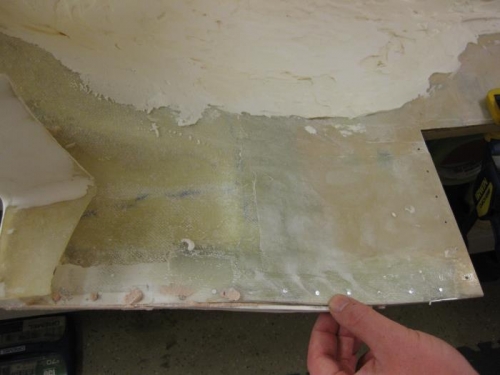
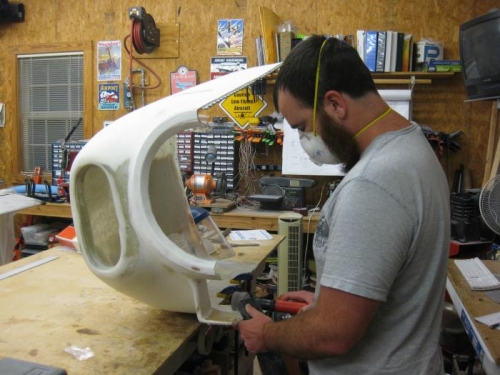
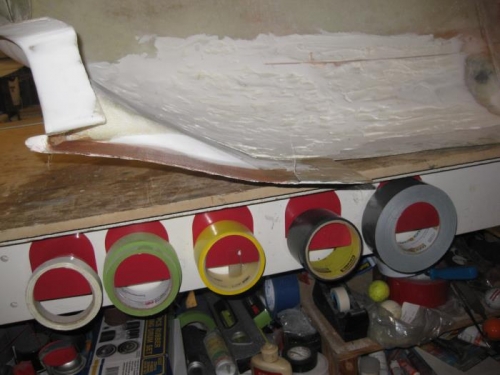
Installed Three Skybolts on Lower Front of Cowling. Removed the hingle that was installed because it was too awkward to install the pin and the pin was difficult to advance along the compound curve of the lower cowling. To use the Skybolts, I had to adjust the cowling so that the fiberglass was thin on both sides of the cowling halves. During the micro addition to get the external profile right, more micro was needed on the right side to build it up to be level with the left side of the cowling that forms the bottom of the oil cooler inlet. The thickness of the right side was way too thick for the Skybolt fasteners. The outside of the right cowling was sanded down to match the left side external profile then one layer of glass was applied for strength and stiffness. The inside of the left side was sanded to remove excess composite material now before it became more difficult to remove with the fasteners in place. Fiberglass buildup was layed on the floor of the left cowling. Used fast resin hardener and was able to drill for the installation of the fastener brackets in about 4 hours. Drilled the collar and fastener holes in the left cowling using a backlight to illuminate the bracket holes through the cowling. Used a Unibit to drill and center the holes in the the bracket and finished the holes with a 11/64" drill bit. The instructions call for a 1/2" hole but that is too big. A 15/32" hole is very tight to temporarily hold the collars in the holes without retainers but I found them just not worth the trouble. The 11/64" hole is a good compromise for me. Easy to install without excess material removal around the collar. The collars fall out easily but I discovered that others are using rubber O-rings as temporary solutions to holding the collars in place prior to painting.