Brief Description: Drilled and Riveted Baggage Door Hinge
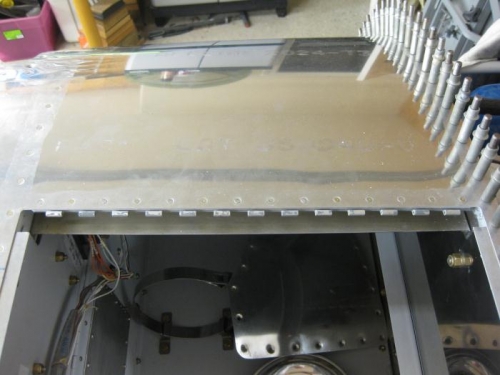
Drilled and Riveted Baggage Door Hinge to the Hinge Support and Spacer. This where the Top Skin Accesses really came in handy! Without these accesses, I was looking at removing the baggage compartment flooring so that somebody could crawl under the panel and reach up to push on the baggage compartment door hinge to hold it in place while it was drill from above. This would have been a lot of work to remove the flooring and would have been very uncomfortable for the one reaching from under the panel. As it was, I tried to reach the flopping hinge half from the right access panel. This was not optimal due to angles and body mechanics. But trying from the left access panel was actually rather easy. I was able to reach in and around the hinge support and hold the hinge half in place to be drilled from above. Once the first cleco was in place, the drilling of the other holes was a non-issue.
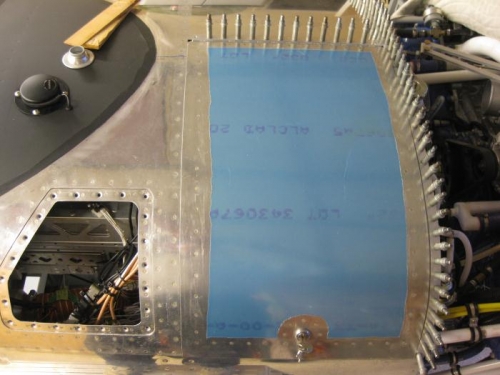
Befpre drilling, the outboard edge of the door was matched to that of the forward top skin. The door was taped in position and the hinge drilled. The door fits fairly well. There are areas that will need attention to get a flush lay.