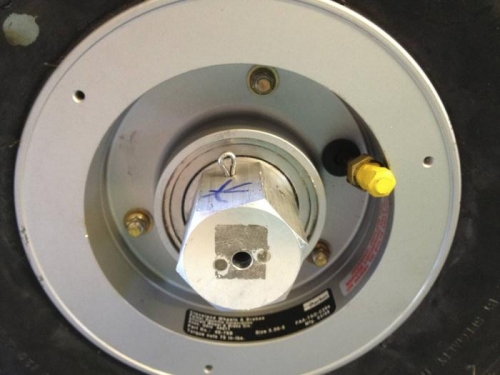
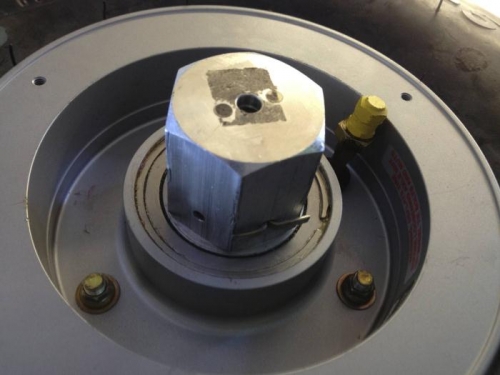
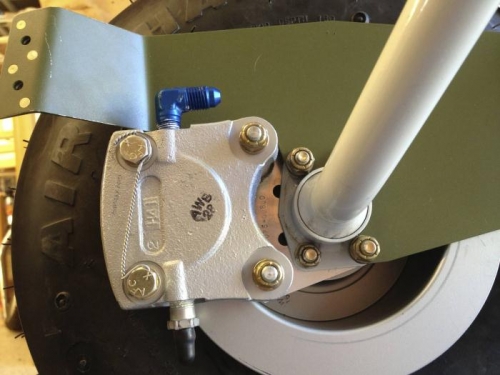
Installed the Left Main Wheel. This was slowed down considerably during the process of creating a hole in the axle to accomodate the cotter pin that secures the axel nut. Following the instructions, I center punched the location on the axle to be drilled. This was done through the axle nut hole after the nut was in its proper place. The problem is that the center punch deformed the adjacent thread enough to make the removal of the axel nut very difficult. This nut had screwed on and off easily prior to the punch. I had to get a 1.5"/38mm deep socket and a 1/2" breaker bar to remove the axel nut. All the while, I was fearful that I was damaging the gear leg threads. I did get the axel nut off without any apparent damage to the axel or the nut. After drilling the holes out to #30 size and cleaning the hole tops, the nut screwed on easily. But when I drilled the cotter pin holes, they were silghtly mismatched enough to make the cotter pin installation easy. With the MS24665-360 cotter pin in the upper hole, I drilled the bottom hole using the nut hole as a guide. I also enlarged the holes slightly to #29. This resulted in a good alignment and easy pin installation. After the pin was installed, the rear brake pad was installed and the bolts were torqued to 90 in-lbs. These bolts were then safety wired.