The major part of the effort installing the bearings and torque tube was in lining everything up and trying to keep it centred. Our friends Kevin and Sue happened to drop in this afternoon just as I was need a second pair of hands, so while Kevin held the torque tube, I postioned the bearings and marked the bolt hole locations so that I could back drill. A bit of fiddling but I got it done, The plans state a 2mm clearance between the skin and the torque tube arm, I have about 5mm, so will need to file some horizontal slots in the bolt holes of the bearing to adjust them inwards 3mm on each side. The castle nuts that can be seen in the photo's will be replaced with nyloc's once I have completed this little job, and then its back to completing the baggage floor and pop riveting it into place. I also still need to drill the torque tube arm to the torque tubes but I think I will do this when the wing is attached so that I can get the alignment correct.
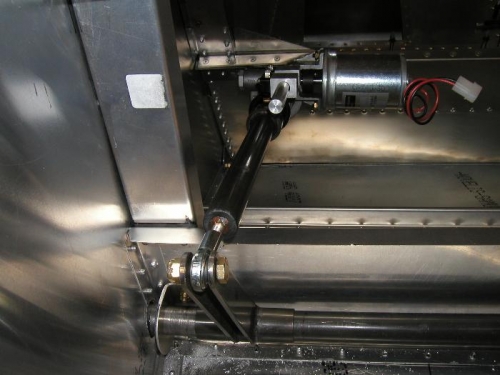
Left torque tube and bearing in position hooked up to the flap motor
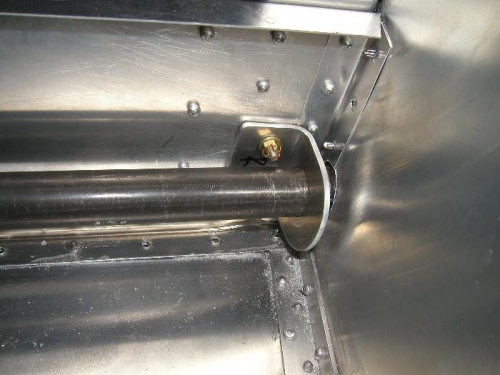
Right side of torque tube and bearing bolted in position
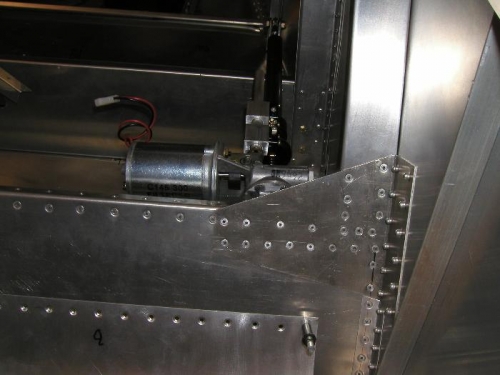
Looking into the rear of the fuse at the flap motor