Brief Description: Preparation of Left baffle. Seal fuel sending dev
Completed all prep work on the right baffle includeing deburing, D/A the surface to accept sealant, and wipe assembly down with MEK for cleaning. One last wipe down of the inside of the tank. confirmed all connections.
I did have to go to Home Depot and pick up a hand riveter. Then grind down the side for rivet access at the z-bracket mounting locations.
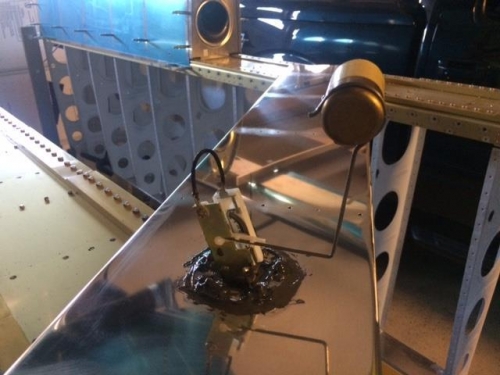
Using the tank sealant I mounted and sealed in both Fuel Sending units then performed electrical test for confirm the grounding was not interupted with the sealant. Sealed up the back side of the plantnut screw connections
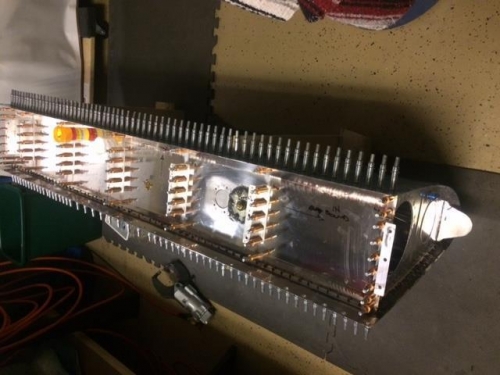
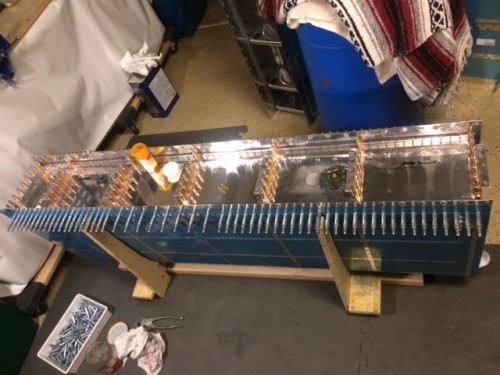
Mixedf 100 kg of sealant, with activator, 110 kg. Applied sealant as instructed in the plans/instuction guidlines. Set in the baffle and mounting brackets. Clecoed everything together and started squeze riveting the skin to the baffle. Solid rivets for the end pieces and mounting brackets. Then used pop rivets for the brackets and baffle connection to the individual ribs.
Everything on the tank looks good. We'll give it a couple days and then attach the access panel and perform the tank preassure test to confirm everything sealed up.