Brief Description: Preparation D/A surfaces and MEK wash for final cl
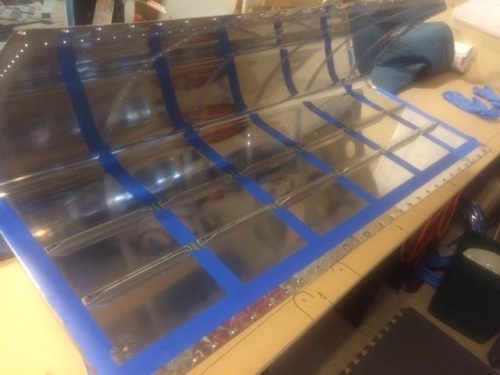
Final preparation for sealant. D/A surface areas on skins and stiffners. I taped over the rib areas to prevent sealant adhering to future areas.
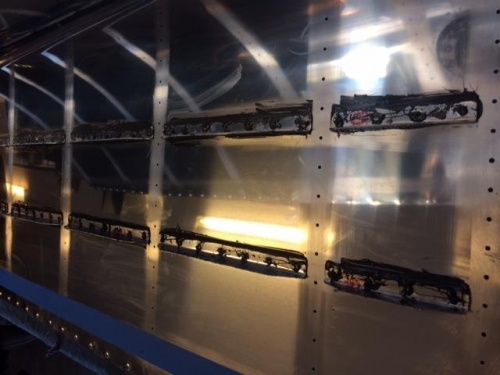
Preped for back riveting the stiffiners. Set all rivets with tape and layed out stiffiners for both skins. Mixed my first batch of sealant (no longer listed as proseal, but the same sticky stuff) It really wasn't as bad as so may of the postings said. (Mixed by weight 70 kg for the first batch to set one wing stiffiners. Back riveted the stiffiners into place. I found it easiest to have a cloth rag and a small bottle of MEK handy for tool, glove, and misc. clean up.
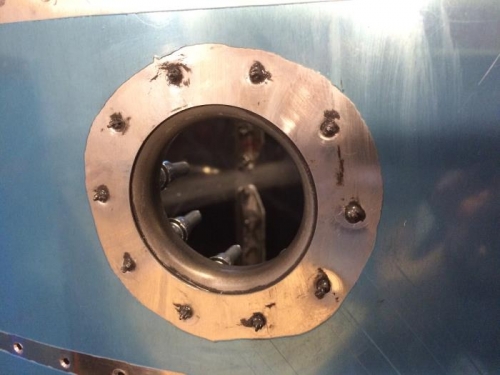
My second batch of sealant I mixed 100kg and it was enough to set the second set of stiffiners as well as the filler necks and two drain points. I was much more relaxed the second mixing. I set the filler necks with clecos in each hole for the filler necks and each of the holes for the drain valves. Once the clecos were set I could form the fillets for the filler necks and drains. I came back and flush riveted the connections with a bucking bar. Once the filler necks were cleaned up I sealed each of the shop heads for the filler necks and drain valves.
Over all the first time run at the sealant was far less event full than expected. While it did take about twice as long as I had expected. The photos that follow show about the same goopy sealant that I've seen from most builder logs.