Brief Description: Canopy Latch Side Handle Install
Installed the Canopy Latch handle per plans. Cut out the Tip-Up Canopy Latch Hole Pattern template and drill holes in the forward side skin for the latch handle.
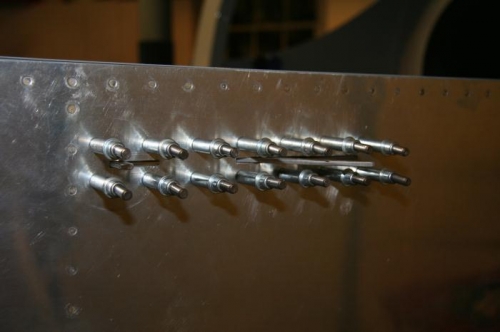
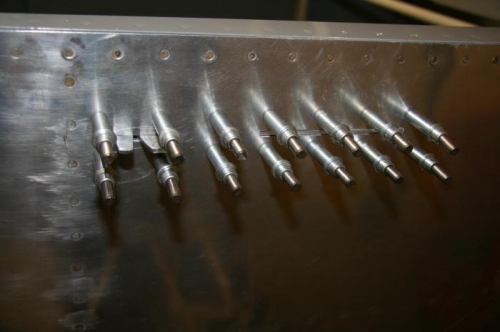
Straightened the C-607 Latch Handle with a straight edge. Deburedr the edges of C-607 and C-609 and fabricated the lower C-712 angle as shown on DWG 48. and drilled the two 3/16"diameter holes in C-712. Assembled and tested for smooth action.
Fabricated the upper C-712 angle. Clamped the angles together and ensure that the outer faces of the two angles are flush before drilling the 3/16" diameter holes.
Drilled the C-712/C-607/C-609 sub-assembly to the forward side skin. Machine countesrunk the C-712 rivet holes, dimple the forward fuselage skin and rivet the angles to the skin.
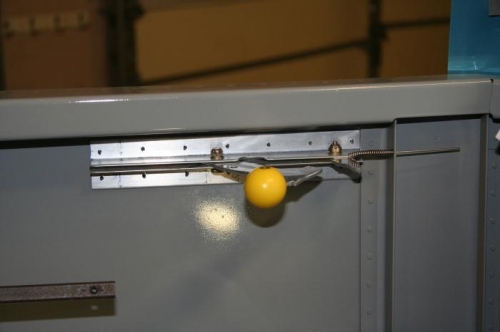
Installed the VA-104 knob.
Install the C-607/C-609 latch handle, with the C-615 spring and hook it into the holes on the fuselage and latch.