Brief Description: Roll Bar - Counter sink channel flanges.
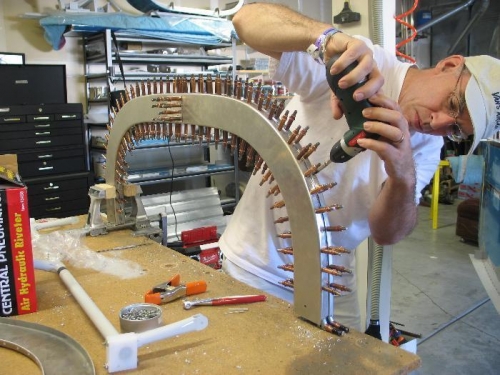
Time to counter sink all the holes in the roll bar channel flanges. I kept the roll bar assembled keeping the 631B strap in place to provide a deeper hole for the counter sink pilot to stabilize in. As others have done I free handed the depth of the counter sink because the curve in the channel makes using the counter sink cage problematic.
I found it’s important to get the bit perfectly perpendicular to the hole. If your not perpendicular to the hole then the counter sink will be deep on one side and shallow on the other. So, I left a cleco in every hole except the hole I’m counter sinking. I used the cleco on the opposite channel to help line up the bit shaft for and aft. Also, I can look down the row of clecos on the same channel to line up the bit shaft in the other axis. I got clean consistent counter sinks this way. I actually test fitted a rivet in each hole to make sure I was deep enough. Each hole took one or 2 more tries to get the correct depth.
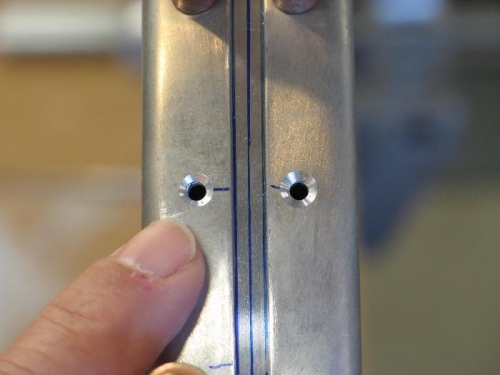
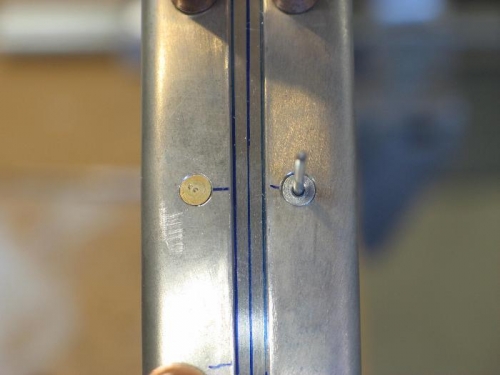
So, the question is, what is the correct depth? Well the forward side uses solid rivets so its obvious there. The solid rivet manufactured head should be flush. But the rear channel gets pop rivets. I had to go deeper then the solid rivet side to get the rivets to set flush. You need them flush because the canopy wind shield sits on top of these. You can see in image 2 and 3 the counter sink on the left is for a solid rivet and the counter sink on the right is deeper for the CS-4 pop rivet. On the pop rivet side I didn’t go so deep to have a knife edge.