
|

|
|
|
Larry Winger's 601XL Project
|
Date: 10-14-2006
|
Number of Hours: 7.25
|
Manual Reference:
|
Brief Description: Completed Stabilizer
|
|
Using the template I created for the bottom, I simply flipped it over (end to end) and was able to use it to align the holes for the top of the stabilizer. This was my first time to use the ratchet tie down straps ($1.99 each on sale at Harbor Freight) and they worked like a charm. The skin pulled down smoothly and nicely which allowed for good alignment to the trailing edge of the rear spar. I clamped the hinge in place and drilled for it as well. From there it was just a matter of pre-drilling, final size drilling, deburring and priming a few edges. Before doing that, however, I decided to make 15mm x 167mm shims to even out the rear skin from the end of the hinge on out to the end rib. This is a low area, so I cut the small shim from .040" 6061-T6 so the areas outboard of the hinge will not pull down farther than the hinge and distort. As always, the riveting is really fun...at least this early in the project. Ask me in a year if it is quite as exciting. The most fun was when I remembered to temporarily place the fiberglass tail tips. They fit quite well, so it should be very easy to attach them permanently. Including the tips, the stabilizer (without elevator) weighs only 12 lb. 10 oz. Not bad for a part that is 7'4" long and must withstand winds in excess of 140 mph. On to the elevator!
|
|
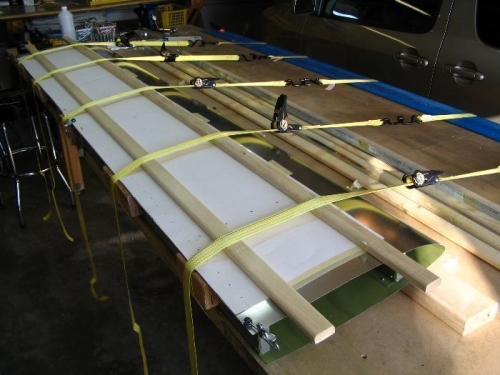
Pulling down the skin. Note the template used on both sides.
|
|
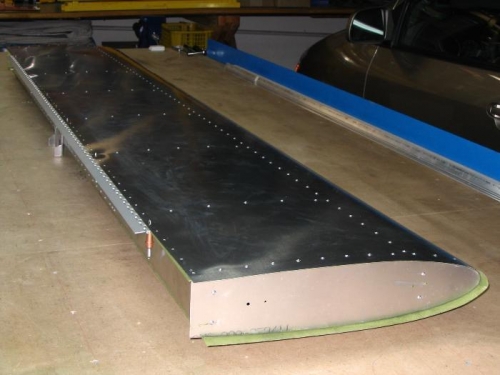
The completed rib, showing the clecoed hinge.
|
|
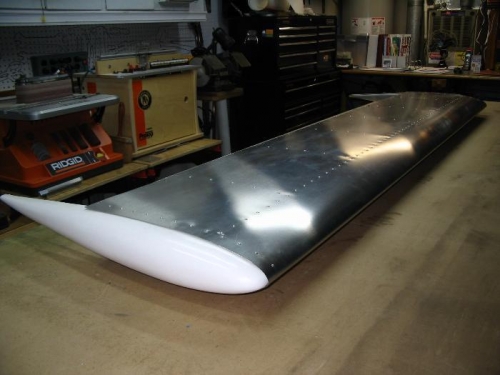
Checking out my fiberglass tail tips. It really looks like something that could fly!
|
|
|
|
|
|
|
|
|
Copyright © 2001-2024 Matronics. All Rights Reserved.
|