Brief Description: Secured Skeleton to table & made skin template
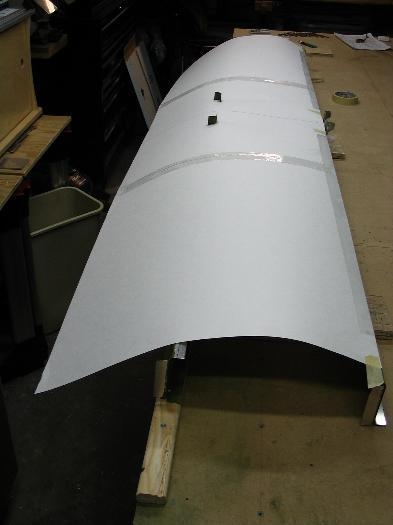
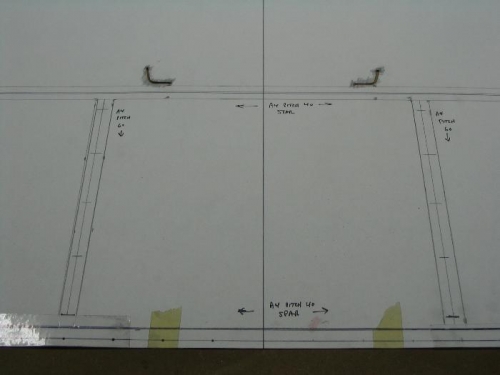
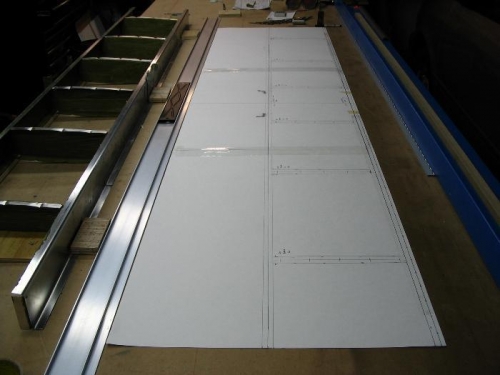
I fastened the skeleton, top down, to my worktable and checked for twist and level. I then joined three pieces of poster board together, aligning them with a long straight edge. This was then attached with tape to the bottom edge of the rear spar. With this secured, I was able to do a rubbing of the front spar attachment ends and then cut them out with an Xacto knife. They fit perfectly. From there I drew straight lines at the ends of the two spars and located the ribs (by feel) through the poster board. With these tracings complete, I comfirmed the location of each part and laid out the rivet lines to the proper pitch. Finally, I drilled through the poster board at each rivet location, replaced the template, marked the ribs through the poster board and checked for alignment. With very minor modification, this is now ready to transfer to my .20" stabilizer skin.