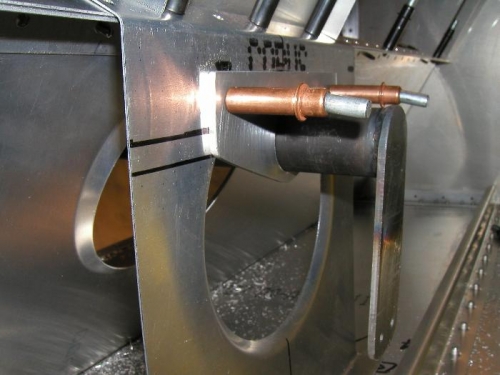
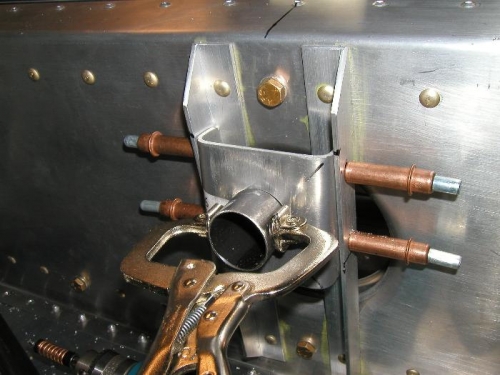
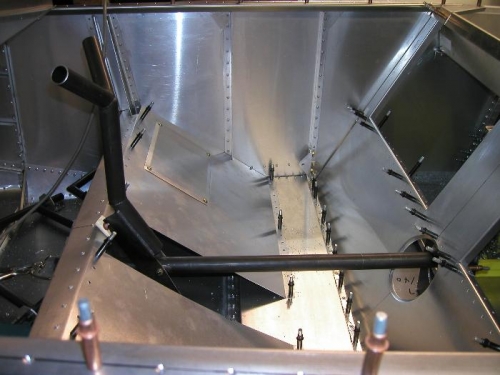
Work has been ballistic this last week, so it felt good to go out into the garage to do a little more on the plane. I cut and smoothed the rear torque tube bearing. The instructions and drawings need to be used together for this one as the drawings don't give you all the required measurements, the centre of the 1 1/8 hole is 20mm up from the bottom of the bearing and the centre of the hole is then positioned 155mm up from the bottom of the rear torque tube bearing support bracket. The rear bearing was then drilled and clecoed in place and the bracket back drilled to the rear seat back. The front bearing is to be cut at an angle so that when it is placed against the wing box it is vertical. With this done I clamped each bearing in the drill press and cut the 1 1/8 hole with a hole saw. The fit is amazingly good, the torque tube is then inserted through both bearings and leveled. Once happy with this I drilled the front holes in the front bearing. The control stick is then bolted onto the torque tube and its starting to look like the cockpit of a plane. I'm happy and tomorrow I'm off to Broken Hill with the Hunter Valley Recreational Flying Club (HRFC) for 3 days, yippie