This evening it was the rudders turn to come out and play. I started by installing the bottom control horn to the bottom of the rudder. Once this is back drilled and pop riveted in place, you slide the control horn and bush into the bottom rudder bearing brackets and install the retaining bolt. The two top brackets are then installed onto the top rudder horn and the position of the brackets marked onto the front face of the rudder. Before I get to far ahead of myself, the two top brackets need to be cut to shape and drilled with a 3/16 hole for the top bolt, the bush that the bolt rides in then gets clamped between these two brackets. With the bracket position marked, the rudder is removed and the brackets back drilled into the front face of the rudder and pop riveted with A5 rivets as per the bottom control horn. If all has gone well, it should just slide back into place. I am very happy with how this turned out. I have dropped the rear of the fuse down to ensure that the garage door does not hit the rudder when it opens, I'll have to remember this for later so that I don't inadvertantly destroy the rudder when I lift the fuselage back to level. Tommorrow nights job, install the fiberglass fairing.
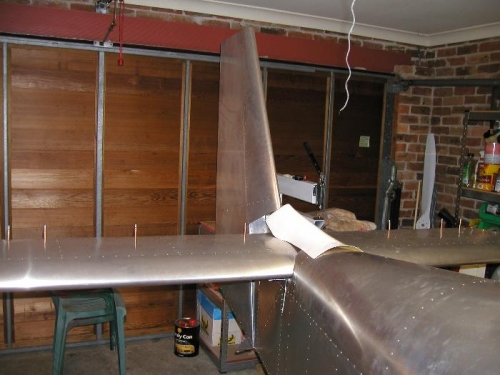
Rudder installed on rear fuselage
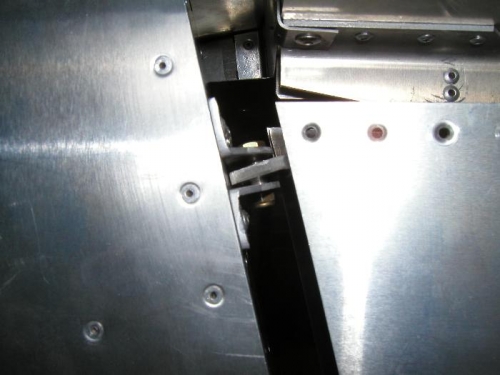
Top and bottom bearings and control horn installed