This evening I completed the installation of the remaining nut plates on the rear of the spat cover. I then re-drilled the right axel hole that I had fibre glassed after enlarging the hole so that I could more easily position the spat for the best fit. There is still a little trimming to do to get it all symmetrical. I also need to drill the holes in the left side for the mounting bracket, and also drill new holes on the right side to match that mounting bracket....but I'm nearly there, I didn't think I would be the other day. Then its fill in the holes I don't need, and bog and sand the spat in preparation for painting.
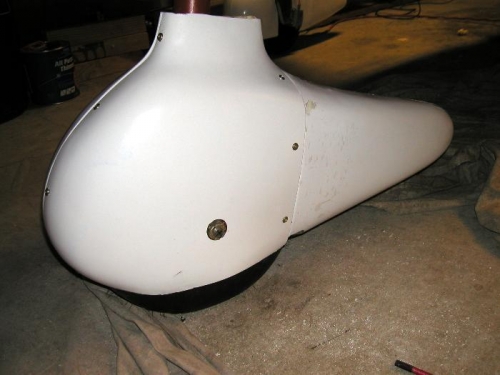
Re-drilled axel hole after fibreglassing previous rather large hole
Wheel spat with cover screwed in place
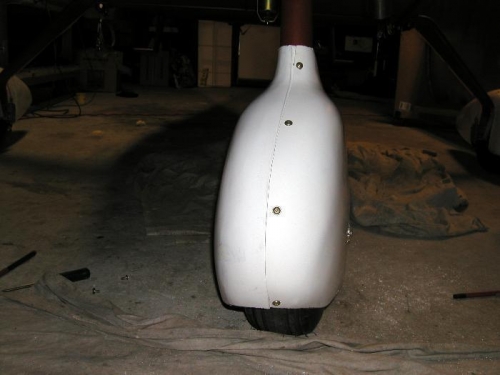
Even though the picture is not taken strait on, you can see that the spat is centred quite well