
|

|
|
|
Eddie's Zodiac XL Project
|
Date: 3-25-2007
|
Number of Hours: 1.00
|
Manual Reference:
|
Brief Description: Fuel pump and wheel spat brackets
|
|
This morning we switched from day light savings mode back to normal, which meant that we got an extra hours sleep. Down side is it’s going to be dark by the time I get home from work. After a nice restful morning I attached the fuel pump to the cabin floor. Yesterday Clive brought a nutsert tool with him from work. It works in the same way as a rivet gun, you drill a hole of the appropriate size, screw the end of the nut tube onto the threaded portion of the tool, insert into the hole you drilled and squeeze, this creates a captive nut which is flush to the surface its installed into. The fuel pump has been mounted on top of a rubber mat to reduce vibration. It’s still pretty noisy though. I have not installed the gascolator yet, thus the little red cap on the front of the pump. I also drilled and taped the thread to mount the wheel-spat brackets; boy these stick out a long way. I feel really tempted to find someone with a band saw and cut the wheels spats through the middle and then take a slice out of them to reduce their volume. I'll trial fit them first to see how they look, but I am sure that I can shrink them in size, otherwise its going to be pretty ugly....
|
|
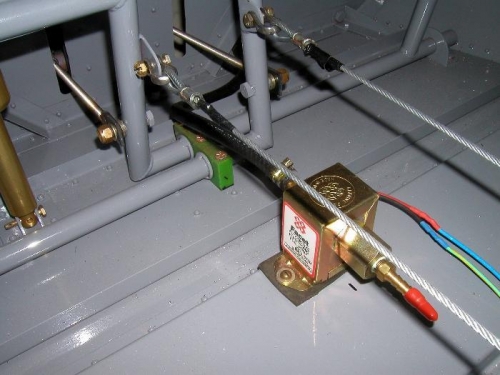
Fuel pump bolted to heal panel and fuel line attached to firewall pass through connector
|
|
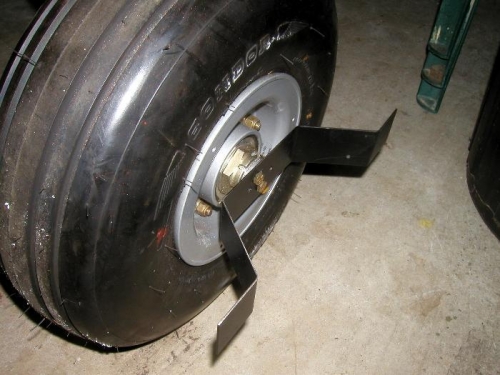
Right side wheel spat bracket, drilled, taped and bolted in place
|
|
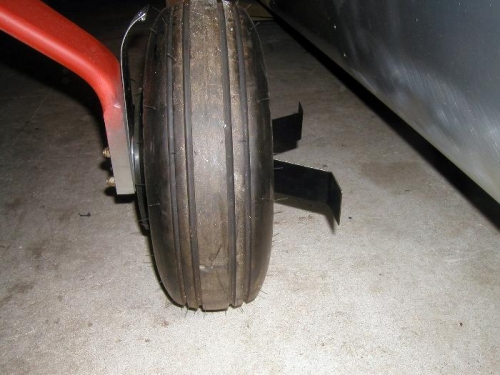
Left side wheel spat bracket, drilled, taped and bolted in place
|
|
|
|
|
|
|
|
|
Copyright © 2001-2024 Matronics. All Rights Reserved.
|