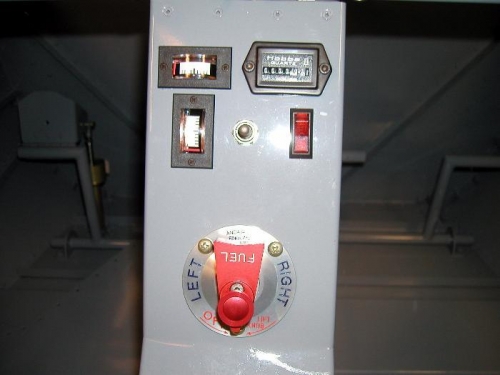
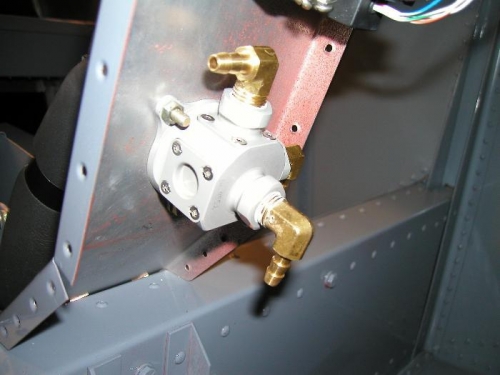
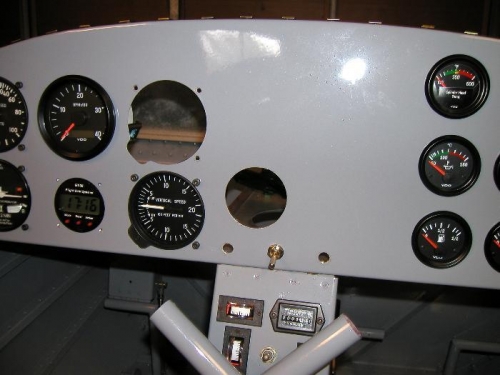
Today was lots of stuffing around drilling, cutting and filing small holes for the various trim indicators (aileron and elevator in this case), and also contemplating the position for the flap and fuel pump switchs. In image 1 you can see that I have installed the flap switch in the center of the console and placed the fuel pump switch to the right of the flap switch. I decided to go with this style of switch because it illuminates when it is in the ON poostion so it will also be a good reminder to turn the fuel pump off. I have also installed an airframe hour meter which is activated by an air switch driven by the pitot line. The 90 degree fuel connectors where also installed and sealed with some fuel selant on the threads. Finally I removed the panel again and cut the hole for the radio, I am going with the XComm because of its dual frequency listening function and also because it has a built in comms and aux input for music feeds etc, which automatically mutes when a broadcast is received. And last but not least I have ordered a panel mounting bracket for the Garmen 296 GPS, its going in the large empty space above the radio, this will make for a flush installation of the GPS unit. I was also going to mount the fuel flow meter I have in my Bi-Plane next to the radio until I read that it needs to be at least 20 inches from a radio....
Installed the trim indicators, flap and fuel pump switch and airframe hour meter