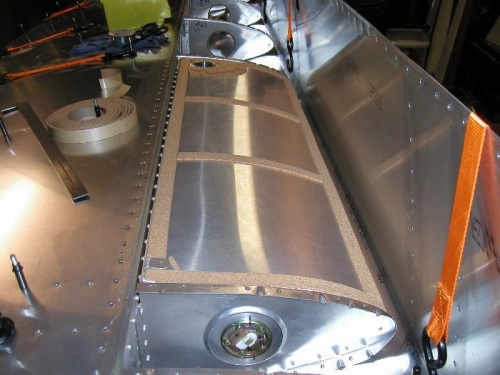
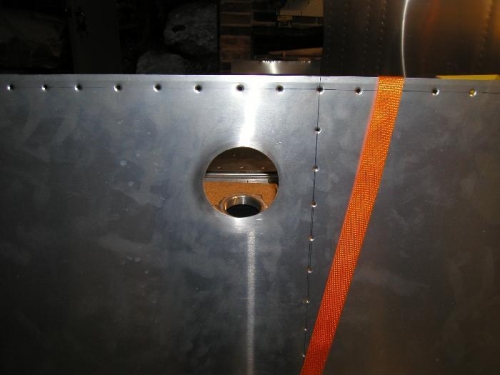
By this time the nose ribs where dry so I re-installed the nose skin and pop riveted it in place along the bottom section where it contacts the main spar and nose ribs. The fuel tank was next on the list, I installed the fuel level gauge marked the tank to indicate top and bottom position for the gauge should I ever had to remove it, and then covered all the relevant external areas of the tank with cork. It was then a simple matter to measure and mark out the positions for the fuel tank vent tube and quick drain taking into account the thickness of the cork. I drilled these holes using a Unibit dirll, this makes the job really easy and I got a really good fit for the tank, the only thing that still needs a bit more attention is the hole where the fuel fitting attachs to the tank through rib 3, this needs to be made slightly larger, a job for another night. Last job was to pop rivet the tie down onto the wing tip at RR#9 so that I can start riveting the rear top skin, it would be horrible to forget to attach this, lots of driling out of rivets.
Fuel tank with cork strips in place and vent and drain holes drilled