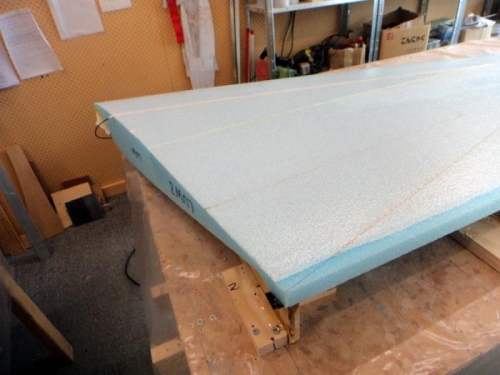
As everything was prepared, more or less I continued on after 3pm with the left winglet skin layup. First up as in pic 1 was micro. I took it to the edge of the TE position where the plans suggest you put peel ply. What a joke, this causes more trouble than its worth. I'd much rather sand the area nearly down to the foam. We shall see later. The peel ply so far has caused problems so I'll go the elbow grease option this time and find out what I prefer...
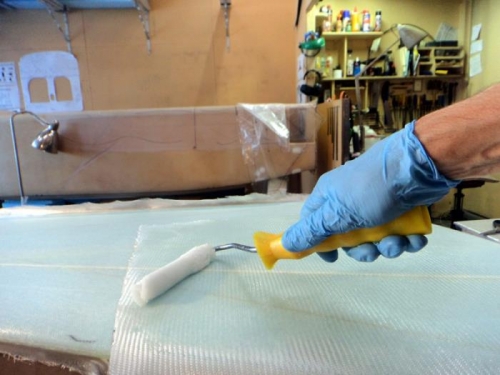
Pic 2 shows the roller in action. I just love my rollers and have been using them since doing the fuselage sides. The BEST tool ever for a great result. Especially good on UNI layups.. Not so in love with brushes and use then as little as possible.
The squeegy is the other great layup tool and I use the BIG one where ever possible these days. I started this build with a credit card sized squeegy and now use a giant one. ...Squeegy that is... my credit card seems smaller than it used to be with all these materials I've been buying.
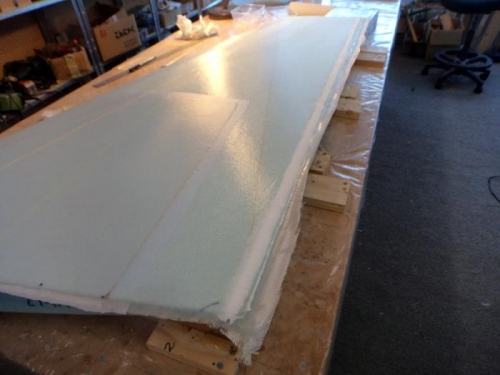
Pic 3 is another layup done. This time the edges were easier than the right winglet. I didn't trim so closely and it seemed to sit down better. I still used tape on the leading edge and wetted it out right around the side so I'll have good wet cloth to trim to.