Brief Description: Left Winglet bottom skin cleanup
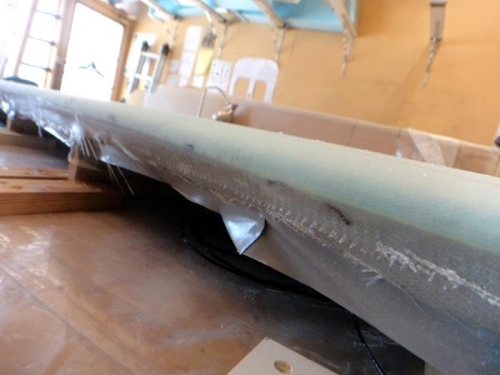
I was all day on this. First up was cleaning the edges of the left winglet bottom layup. You can see in pic one that the cloth is nicely wetted out around the corner or past the peak of the LE. It just needed some time cleaning it up to a smooth transition ready for the top plys.
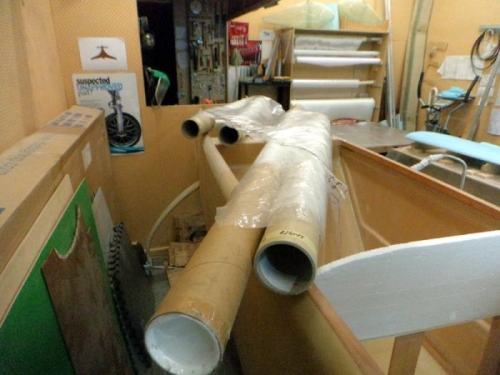
Pic two shows the cloth cut for both winglets top layups. I did the third ply of BID as well, oh yeah and some peel ply cut to size too. A while back I started cutting the cloth and then rolling it up ready for the layup using old cardboard rolls or plastic pipes. With the smaller bits its easy by myself to just unroll these onto the job. It works better than other forms of storing precut cloth.
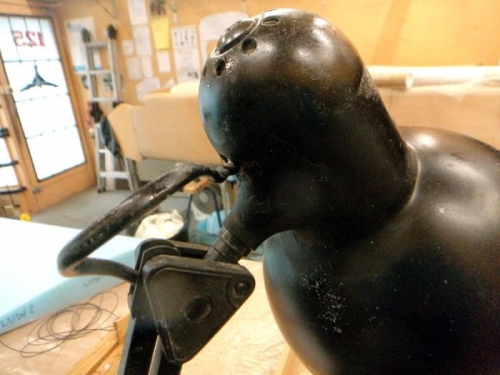
Pic three I thought I'd show you. Its my desk light used to look for air in layups and other jobs. The light stand failed at the metal join. I floxed the fitting back together and after cure smoothed it all out and added two plys of BID. When this cured I sanded it smooth and used a little matt black paint. A repair like this seems very natural as this is what I'm doing all the time now. The light fitting is VERY strong after the fix and should last at least until the end of the build.