This step was done over several days with able assistance from Darren Crompton. Probably time to give some credit, he was also terriffic during the outer skin layup.
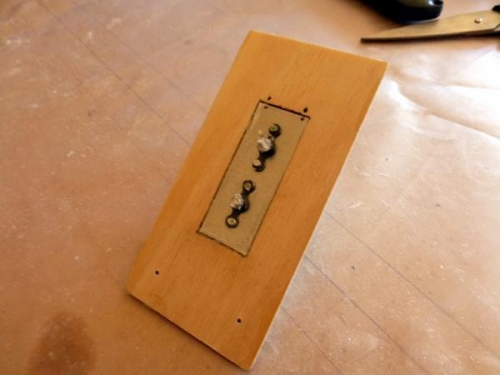
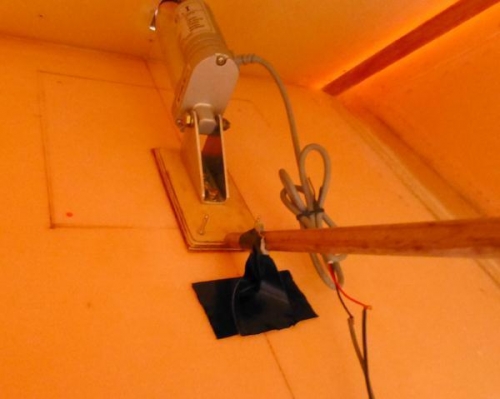
We had to position the landing brake so that it opened to 63 degrees (plans) and fully closed on the fuselage. This is determined by the position of the timber insert in pic 1 on the seat back. This timber has the nutplates that hold the actuator as you see in pic 3.
We played around for a couple of hours until the angles and travel worked correctly and then some marks were drawn. I later dug out the back of the seat so the timber could sit flush and then 5mt glued the timber on and tested the brake to ensure we were spot on. Then I drilled 2 holes and useds positioning sharpened riverts.
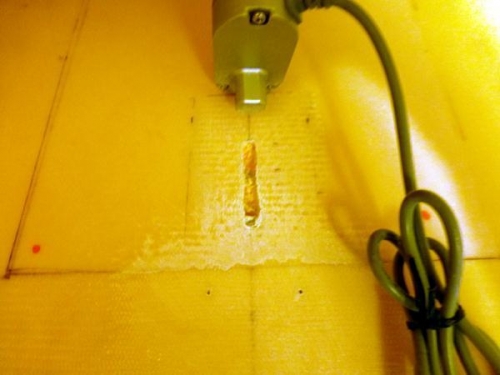
The next step in pic 3 was to flox the timber braket in place. I wedged a stick to help clamp it in position and had all the brake hardware on too so it all locked into place.
I had previously peel plyed the back of the seat... but not far enough up so it needed a little sanding for the secondary bond.