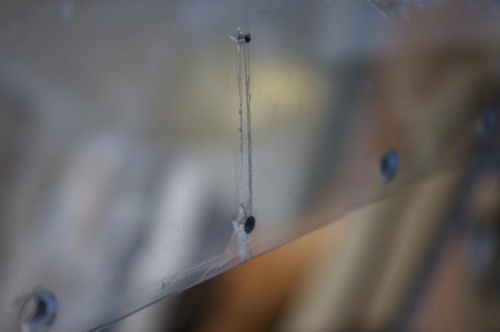
So, taping with tight electrical tape works wonders. Leave just the slightest gap on top of the crack. Tape both sides the same. Expel some air from the bottle (not near your canopy, especially not with the needle pointed anywhere that the Weldon 3 would squirt out on canopy). Point needle into crack between tape and starting from one end drag it to other end and stop squeezing and lift it away from the canopy carefully so as not to spill onto good materiel. Wait about 30 seconds and repeat on opposite side. That side will take even less material because your previous squeeze wicked into most of the crack, if not all. Wait 30 seconds and then remove all electrical tape and leave the repair alone. If done correctly, here is what happens. The crack, which previously would have been opaque or silverish looking when viewed from a 45 degree angle, will now be absolutely clear again. I have a slight line on each side which is where the excess material mounded very slightly. It feels slightly bumpy to the touch. I will eventually sand that down to level and polish to a clear finish. I expect to not see this crack when done. Won't that be something!!
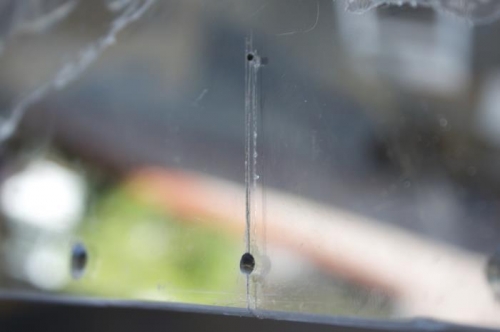
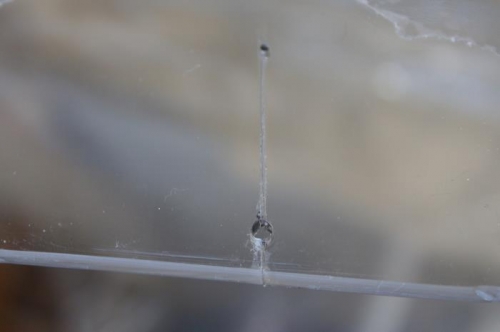
The area between the lines was the depth of the crack. Now it is crystal clear.
The visible lines are the filled crack top surface front and back.
I couldn't believe the opaque middle crack area would ever be clear again. It is.