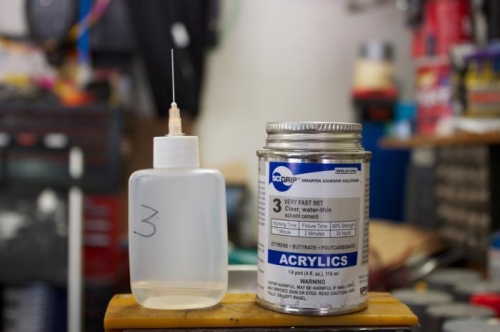
I removed the canopy from the frame, again. This time I am chemically welding the small crack on the copilot side. After experimenting on many scrap pieces, I found if I tightly hug each side of the crack with electrical tape, stretched out somewhat, on front and back side of the canopy crack, I can apply Weldon 3 with the tiny needle screwed onto an applicator bottle. Hold needle up, expel about 1/2 air in the bottle and then turn over and the air sucking in keeps the Weldon #3 from drizzling out of the needle onto your work. Crack is positioned horizontal. Lightly squeeze bottle to expel the Weldon 3 onto the crack. Be conservative. It wicks into cracks and fills them. Remove bottle and keep it away from your canopy. If it splashes ANYWHERE. you get fogged droplets on your nice canopy. The electrical tape forms a tiny dam on each side of the crack, front and back, so the material will wick into crack and not cause an ugly smear on the canopy. Wait 30 seconds or so and remove electrical tape. Leave it alone until tomorrow........
Transfer small amount into needle bottle.
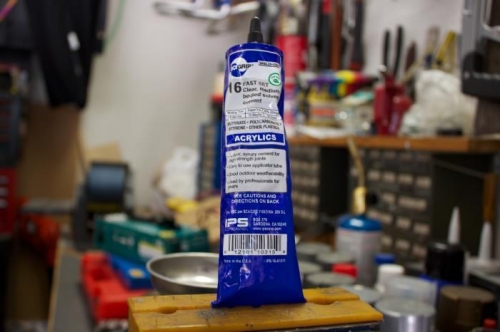
This is clear acrylic cement. Fill stop drilled hole neatly. Use needle to fill. Don't spill over.
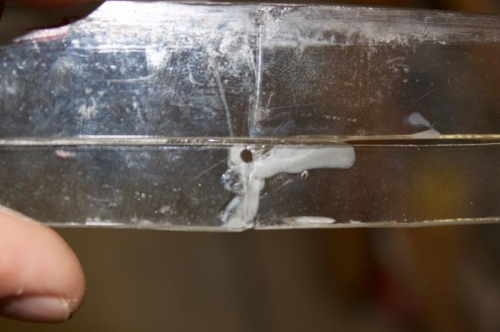
Practice piece. Thats why you must practice. Fogged mess.