
|

|
|
|
Wendells RV-6A
|
Date: 7-7-2015
|
Number of Hours: 2.00
|
Manual Reference: Hardware
|
Brief Description: Install Open/Close Hardware 1
|
|
The canopy lugs were no great challenge. With the canopy closed and slight space available between the canopy and the fuselage longeron, I used a hacksaw blade to lightly scrape a line into the painted lugs where the botton of the F631 rested against the lug as I was pushing up on the lug against the lock down arm underneath. That showed me the height of the lug to be mounted on the F631 canopy bow. Slight adjustments were made to center the lug on the the lockdown arm and I marked that location. Drilled 40, cleco, check position, slightly readjust, drill 30, cleco, verify position is ok, drill 19, drill 12. Done. There is a tooling hole in the F631 that is close to the upper drilled hole, but remember that the hole through the lug and the hole through the canopy frame are pristine. Vans must have known that when they designed it.
|
|
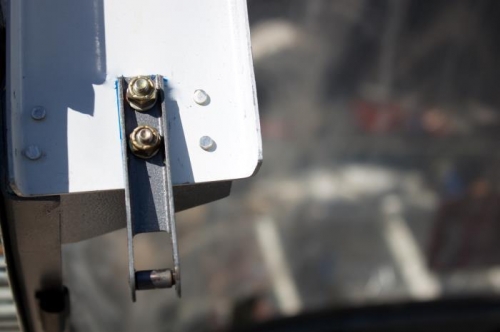
Typical of both sides. Hacksaw scrape where white F631 meets the lug starts the position process.
|
|
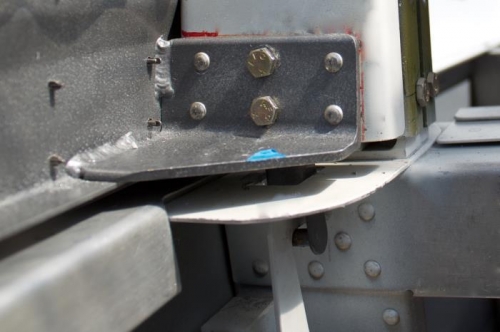
Final AN3 bolts in place. Same for both sides. Painting comes soon.
|
|
|
|
|
|
|
|
|
Copyright © 2001-2024 Matronics. All Rights Reserved.
|