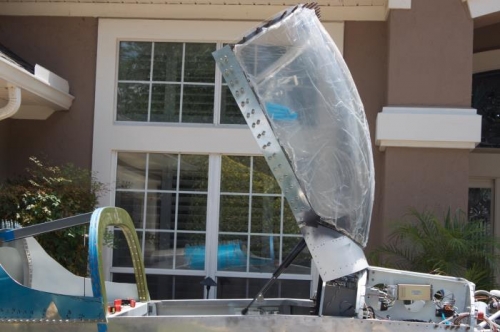
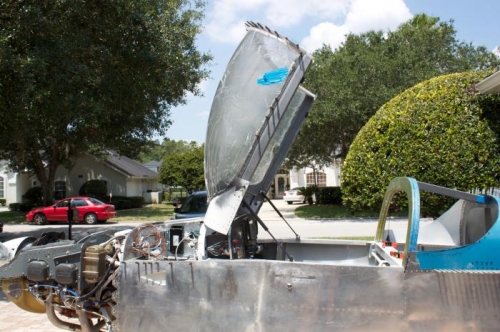
Mounted the forward canopy again. Clecoed as much as possible and laid out drill hole patterns on canopy frame sides for the side skins. Then clamped down the closed canopy frame to simulate lock down position and back drilled the first side skin. The RV6, being more or less hand made rather than computer punched requires more fitting of parts. The side skin is positioned so the bottom has some slight overlap at the front to account for the change in angle of the top fuselage longeron. Then, after back drilling, you mark the surplus and file, sand it to fit on top of the matching fuselage. Some people decide to overhang the side skin. That is simpler than matching the canopy and fuselage skins, but I chose the more difficult option. That decision was made back when you are fitting your canopy frame and deciding to make it flush with fuselage or setback slightly to let the side skins be flush or overhang.
Copilot side drilled, filed, sanded into position.
Pilot side next. Use the copilot side for learning. Pilot side becomes easier.