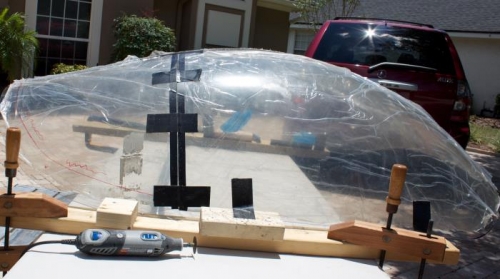
Continued cutting with the Dremel and stopping to add more tape to hold the cut halves together. About 2/3 the way across, I stopped and began from the bottom of the opposite side, planning to meet the original cut line. I learned to use the rear canopy edge as the ''waste'' edge when I restarted the cuts along the way. That way, the big canopy edge was never nicked each time I reinserted the dremel. I say waste edge because there are some slight irregularities along the rear window cut edge from reinserting the dremel each time. All of that will get sanded perfectly in the end. The big canopy cut line is a permanent line exactly marked and cut and I did not want to do excessive sanding on that edge. It worked out really nice. More on that.
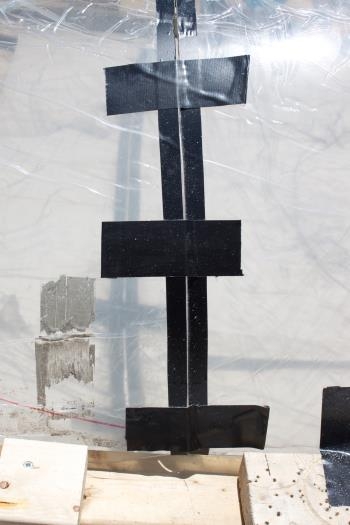
Cut and tape. Cut and tape.
Imagine cutting with dremel from this side first. Best direction for the cutting wheel. Butter..
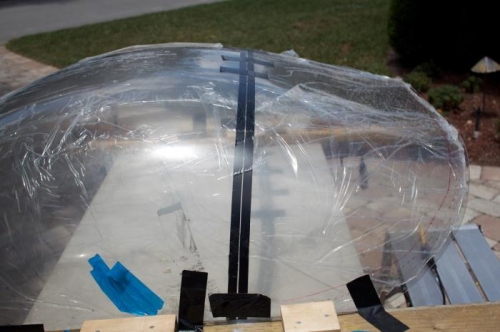
Reversing cut on this side and wheel fights more to cut nice. OK, but more work to do it nice.