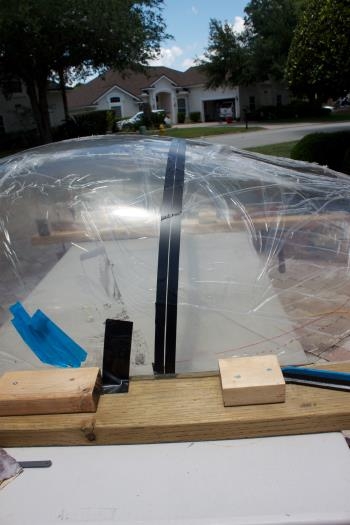
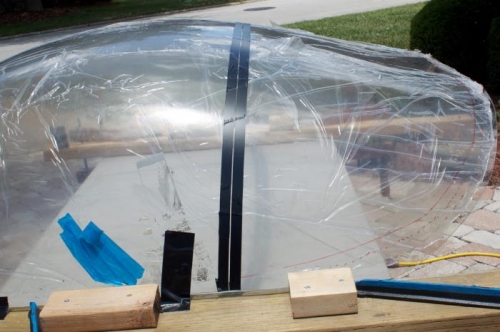
I made one additional trim along the front of the canopy starting about 6 inches each side of centerline outward to each side right before it crossed over the slots in the canopy skin on each side. That scalloped out each side by 1/4 inch allowing an even better fit all across the front. It also very slightly lowered the canopy which gave an even better fit across the roll bar center area. Its intuitive when to stop cutting. That was it. I marked a line on the roll bar giving me 3/8 inch overlap of the forward canopy piece onto the roll bar. Carefully fitted the canopy into place, duct taped it to prevent movement and laid an electrical tape line on the canopy matching the edge to the cut line on the roll bar. I laid a 2nd tape line 1/16 inch aft of the first one to give me a demarked cut line. Then added some stop blocks on top of the existing wood on the cutting table so I could raise the canopy to rest on top of the lower wood and held firm by those stop blocks from spreading. I also duct taped both sides to the lower wood to keep the canopy from walking around while I cut. Here goes....
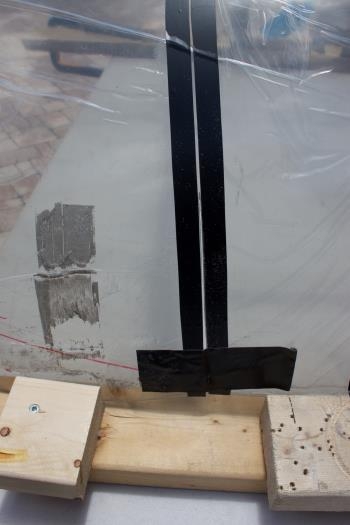
Space between the two elec tapes is the cut line.
Before I started cutting I removed the rear top wood for the Dremel to fit.
Once the first cut was high enough I replaced the wood block and started taping both halves together.