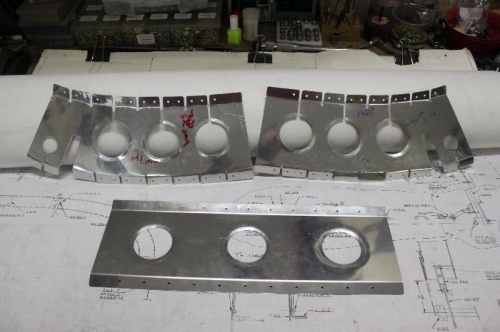
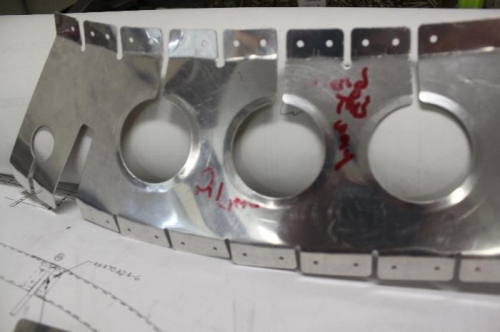
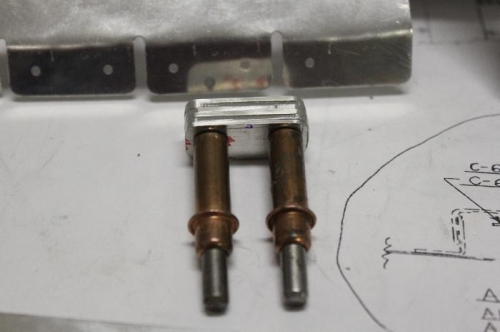
The canopy reinforcement kit instructions are really for RV7/RV9 with a note that it can work for RV6 too. Uh, don't know what that really means but I went ahead like it should fit RV6. Looks like it will. The parts come as flat pieces and you are to mark and bend the tabs in the correct direction . Also, you must bend down the cutout circle edges (3 holes in each piece) at least 15 degrees. I started with the Cleaveland edge-forming tool and carefully ran it round and round (making the bend in the right direction.... towards the top of the canopy when installed). Then I took my old oak edge forming tool with the 1/4 in kerf cut in it, and ripped a 1 inch piece from it. With that tool I then slid it round and round while pulling down to enhance the flange bending. It worked well. Also made the 6 connectors that span the slot leading to each circle on the two outer reinforcement pieces. They get riveted across each slot to firm it up when ready to final rivet the whole thing. What happens next is I fit the fowrard top skin and the canopy sunshield skin. Drill them in place, clecoe and remove the whole canopy and turn it upside down and fit these three reinforcement ribs onto the canopy frame. Last, I drill them in place and then go through the dimple/countersink process so these parts can all be primed/painted and riveted together. Thats it.
Bent all circle hole flanges for reinforcement.
Marked and bent riveting tabs 24 degrees for start.