
|

|
|
|
Wendells RV-6A
|
Date: 2-26-2011
|
Number of Hours: 2.00
|
Manual Reference: TheBottom Skin
|
Brief Description: Rivet Bottom Inboard Skin Right Wing
|
|
Finished what I could do with the flap mounting process and now am riveting on the inboard bottom skin. Started at bottom of rib 4, went across the rear spar, up the rib 5. Then half way across the top main spar flange of between rib 5 & 6. Then all the way across the bottom. Repeated that on the next outboard rib and spar. Then I riveted wing walk rib 4 in place, then 3, then 2 then 1. Each one had the top bolts/nuts to secure to 30 inch lbs, pop rivet 5 LP4-3 to main spar web, then rivet each rib flange. Wing walk top got AN426 AD3-4 except through main spar flange which called for AD3-5 to attach the rib, spar flange, wing walk doubler and top skin. There were choices to make regarding the wing walk. I chose to dimple the top skin, counter sink the wing walk doubler except for the main spar flange. There, I dimpled both top skin and wing walk doubler and countersank the main spar flange and straight drilled the rib flange. Putting torque seal on the nuts using an inspection mirror was crazy. Your hands have to move opposite what your brain is telling you to do.
|
|
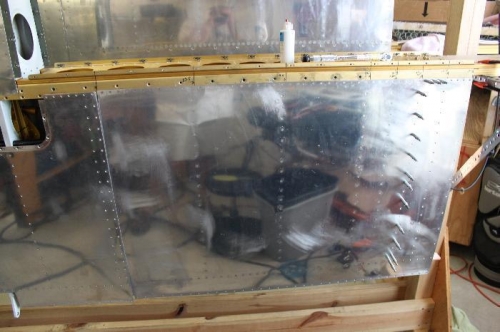
Rivetied outboard to the outboard skin overlap and stopped. Then went back to wing walk ribs.
|
|
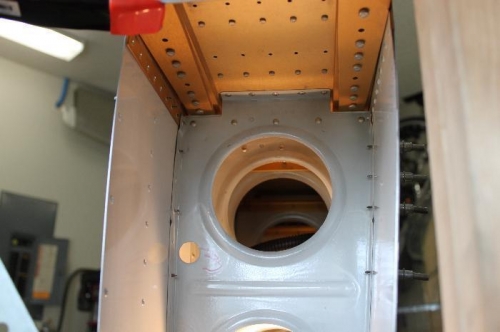
Typical wing walk rib installation.
|
|
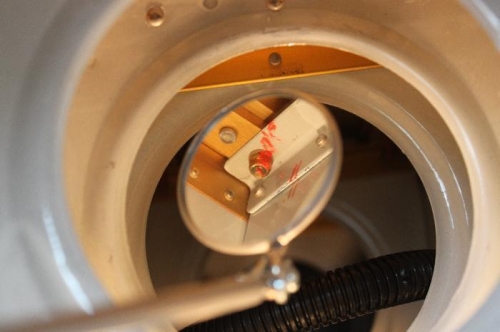
Inspection mirror shows torque seal. Maybe I should have put the nuts on top of the main spar.
|
|
|
|
|
|
|
|
|
Copyright © 2001-2024 Matronics. All Rights Reserved.
|