Brief Description: Part 2 - Installed Canopy Screws and Nuts and back
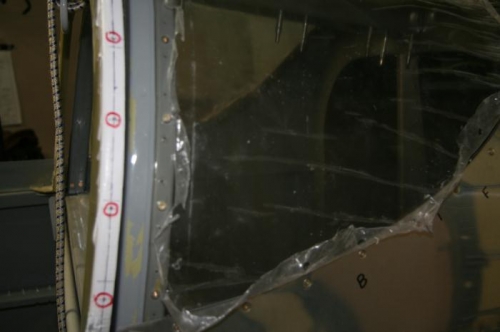
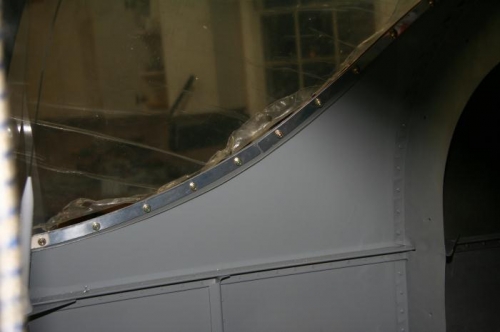
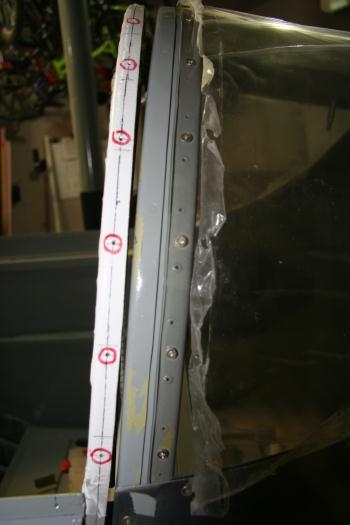
After drilling and countersinking the holes, I finished edged the plexiglass and removed the inside plastic covering. I left the outside on but peeled back for the screws. I also enlarged the holes of the backing plate and installed screws, washer and nut.
I also removed the white duct tape after the holes were tapped. Some small pieces of paint came off with the tape so I will have to remove the canopy at some point and touch up those spots.