
|

|
|
|
Toms RV9-A project
|
Date: 10-17-2009
|
Number of Hours: 4.00
|
Manual Reference:
|
Brief Description: Garage Heater unit ceiling installation
|
|
Decided that working in a cold garage throughout the winter was not for me. Since I was biding time for my Quick Build to arrive in December, I did some online searching for a suitable garage heater. Estimated that I need about 60-70K BTU for the garage based on temperature rise needed and local temperature in the winter. Here were the options:
Electric heat
Pro: no venting, easiest to install
Con: small BTU capacity, electric heat is most expensive, can’t meet BTU sizing requirement
Gas - vent less
Pro: no exhaust to deal with, cheaper than electric
Con: condensate exhaust is corrosive to AlClad
Kerosene Heater
Pro: cheapest alternative
Con: Have to deal with resupplying Kerosene, can’t meet BTU requirements
Gas – Vented
Pro: good BTU capacity, cheapest way to heat
Con: more complex installation
Decided on the Gas – Vented approach and purchased a Modine Hot Dawg 75K BTU Natural Gas heater. This will fit the bill. Got contractor estimates before I started for installation, wow, should go back into the business. Better do this myself.
Rented a vertical hoist from Georges tool rental to get the Hot Dawg heater installed in the ceiling.. Determined the best location was the third garage bay, closest to the street. This meets code requirements for exhaust and allows the heater to throw heat across the entire garage area without short cycling the heat. Install went without any problems. Took more time renting and moving the vertical hoist than doing the job. A impact air gun made short work of installing the lag screws into the ceiling joists.
.
|
|
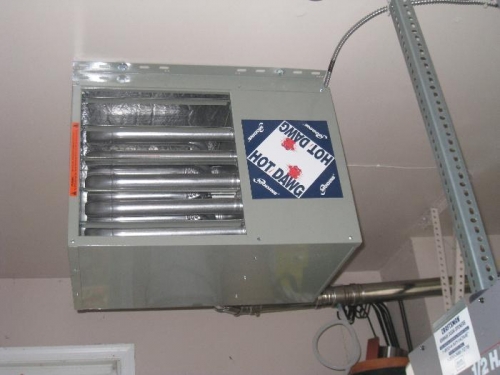
heater installed
|
|
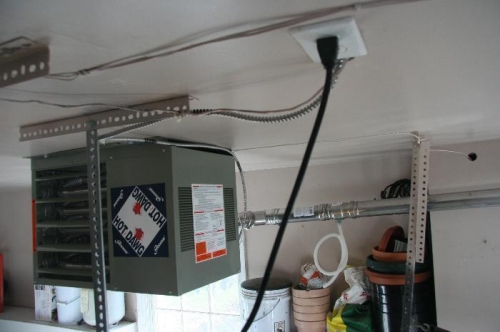
side view showing electric install
|
|
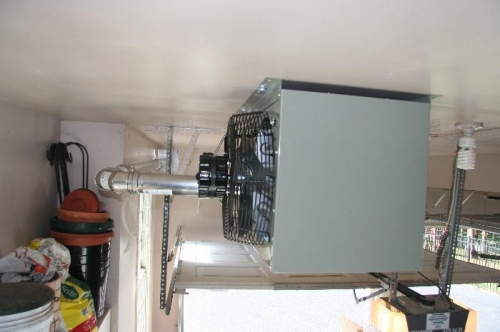
Exhaust is Category 3 forced venting
|
|
|
|
|
|
|
|
|
Copyright © 2001-2024 Matronics. All Rights Reserved.
|