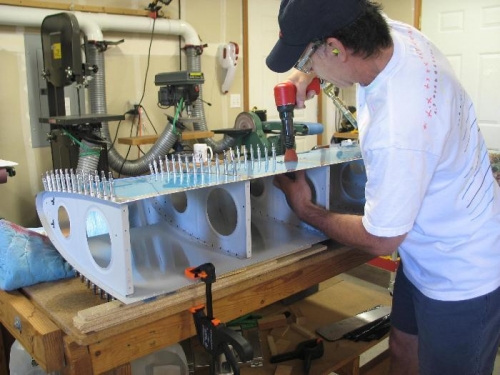
As you can see I riveted the bottom first. The instructions have you squeeze the most trailing edge rivet first. Then rivet from traing edge to leading edge. This is opposite from the tanks.
Image 1 shows how I have the trailing edge clamped down. A blanket under the leading edge adds stability. I thought about doing this in the craddle laying down but it was not as stable as this set up. Also thought about riviting in the craddle standing up but I have better rivet positioning this way.
I did this one cleco at a time. Rivets on the leading edge came out really good compaired to the tank. Wonder why?
Now this is interesting. I had perfect dimples on the leading edge. But as a result of riveting, I have the rivet indent problem I thought was due to under dimpling. What's up with that? I had the rivet gut set to a pressure so that the average rivet took 10 smacks to set. Is that too many?