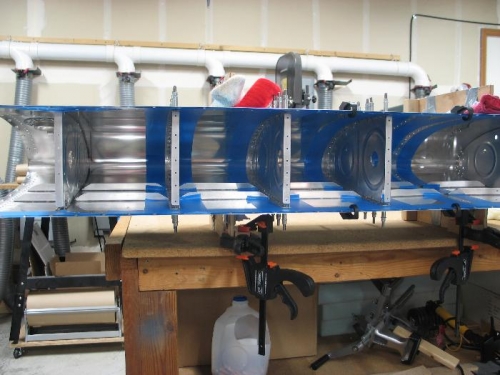
So far I've riveted in 2 ribs. It took me axactly 2 hours per rib start to finish. This includes clean up time.
Her is my current procedure and if my procedure does not change then I'll have no more log entries until all 10 interior ribs are riveted in.
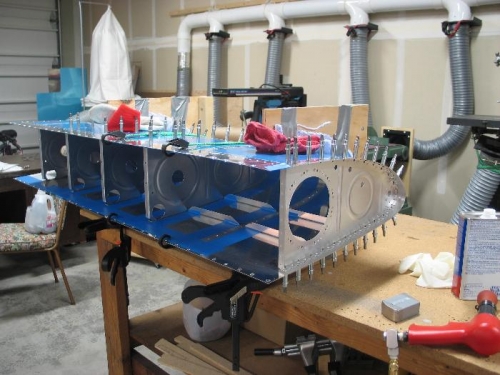
1.) With the tank in the stand staning up I apply the Pro-Seal to the rib using a squared off jumbo popcicle stick. 2.) Place the rib in the tank. Staring from the leading edge I cleco every hole. I do a few clecos on the top and then a few clecoes on the bottom. I use a pointy tool to help get the holes lined up. I also use the tool in the holes to softly pry the rib down into the skin. These clecoes get messy and will be dedicated tank rib clecoes and will proably never be mixed back with the others. They are the chosen ones. 3.) Lay the tank on its side top up. I used 2 bungy cords to bungy the tank to the tank stand. I used a couple of eye hooks in the stand for the bungies. I also clamp the stand to the table. Ever thing is stable. 4.) I rivet the top first startiing at the leading edge working towards the traling edge. When I remove a cleco I use the glob of Pro-Seal that's on the end of the cleco to swap into the dimple. I place the dirty cleco somewhere so it will not move around and mess up the othe rparts of the other clecos. They will get cleaned later. 5.) Time to buck. The first 2 rivets require the curved end of the bucking bar. The flat side can be used for the remaining rivets. A few rivets on the bottom close to the stiffeners require the thin bucking bar. The hand with the bucking bar has a glove and touches nothing but the bucking bar. The other hand does not have a glove and it pulls a cleco, swaps the dimple, inserts a rivet and uses pointy tool to push the rivet in the hole. This hand stays mess free. Then buck. Repeat. I do every rivet on the top in order starting at the leading edge. I turn it over and do the same on the bottom.