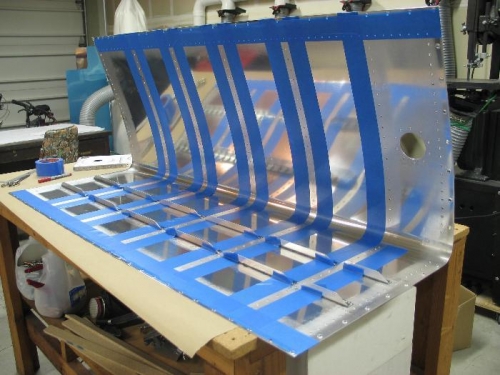
Putting the tank ribs on and off, I know that once I install them with Pro-Seal smeared all over them, it's going to get all over he inside of the tank skin. Image 1 shows the inside of the tank skin taped off with low tack tap. The distance of the tape from the rivet holes and ultimatley from the rib flange was pre calculated. I calculated tape positions so that there is about 1/8" between the rib flange and tape. This will allow a nice fillet.
The tape is - 7/16" from the center of the rivet holes left and right. 5/8" from the top trailing edge rivet hole. 9/16" from the bottom training edge rivet hole. As you can see, the bottom tape is closer to the trailing edge rib flange to allow water to migrate past the rib on its way to the fuel drain valve. Is this over kill?
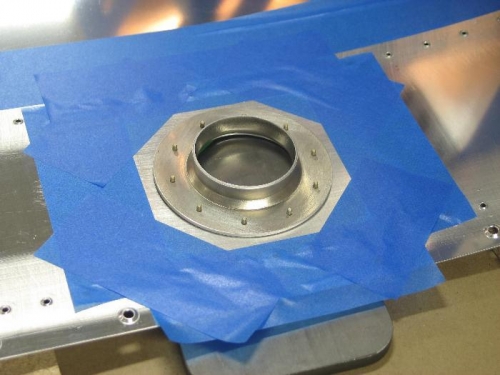
Image 2 shows the tank cap flange sitting in place. Tape in place incase Pro-Seal gets all over the place.
Image 3 shows the tank cap flange rivets taped in place ready for back riveting. Don't forget to use a longer rivet that holds the fuel vent line clip.
I had to drill out 3 rivets. You see, the skin is curved and care must be taken to make sure the rivet you are back riveting is against the back rivet plate. 3 rivets were proud (standing tall).