Time to position and drill the firewall. This comes in 3 steps. 1. Position and drill the bottom flange. 2. Position and drill the side flange. 3. Drill the top longeron/weldmont.
So, there seems to be some confusion on where and how to position the firewall web aft of the bottom skin. The plans say to draw a center line on the bottom firewall angle and view that line through the second row of holes on the bottom skin. Later it talks about setting the firewall web back from the side skins by 5/8. Well, viewing the center line through the bottom skin does not set the firewall back 5/8”. For me it sets it back 1/32 less. So it doesn’t even matter how I measure the center of the angle. What gives? What do we do?
I viewed and studied several other web logs and saw several different solutions. Even Vans’ airforce forums didn’t have a consensus on what to do.
So, here’s what I did. I simply set the firewall web 5/8 aft of the bottom skin just like the plans say to do for the side skins. Done. I didn’t care where the firewall bottom angle center line fell.
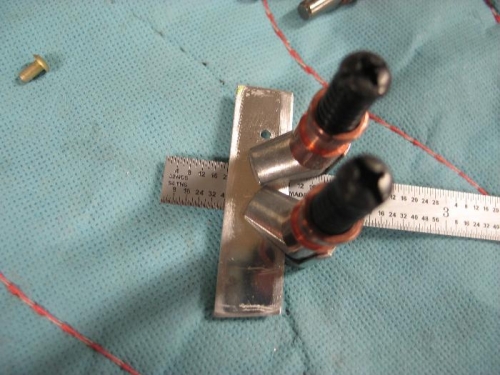
I didn’t have a mini square so I made my own as seen in image 1. It’s very important where to measure the firewall. I measured from the firewall rivet lines, far away from the flange/web curve radius. I also drilled 5 holes instead of just 2 like the plans say. I took great care in getting that 5/8” along the whole bottom span so I wanted a few more clecoes to preserve my effort.