Brief Description: F-704 BH - Ream control sticks bolt holes..
The instructions have you bolt on the control sticks at this time. Mostly so you can get it all adjusted and it's all exposed now so it's easier. After it's adjusted, you take the control sticks off and store them away.
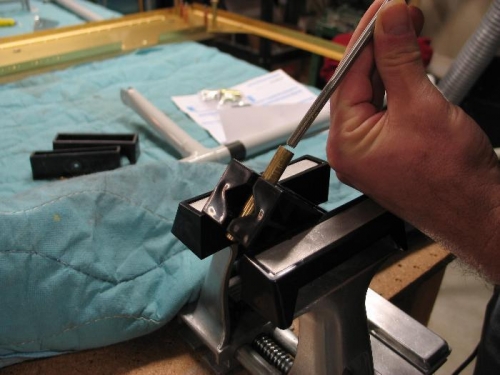
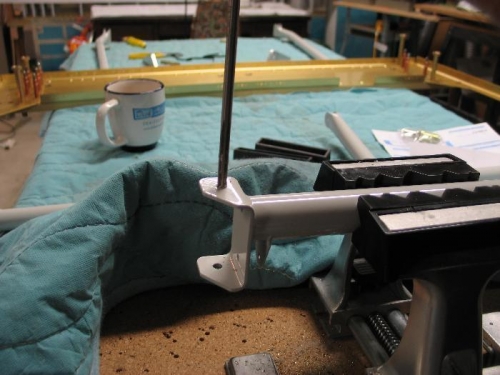
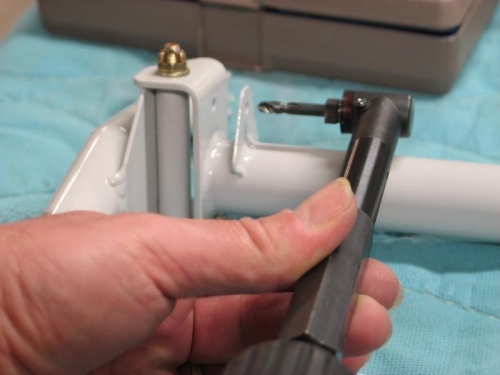
First things first is to ream out all the locations that take a #4 (1/4") bolt. This includes a couple of brass bushings and the holes on the WD-610 Control Column. Sure glad I got this 1/4" reamer from Avery tools. It's the true 1/4" reamer, not the under size reamer. It makes quick and precise work of it. While I was at it I also reamed all the holes that take a #3 bolt with a #12 drill bit.
Next was to shorten the bushings and sand the control sticks so that you have a 'slide' fit on the Control Column. That's what the Vans instructions say "Slip fit of bushing and stick tube". Getting the bushng length was easy. I use the sanding disk on my belt sander. I have a board clamped to it so that I get an exact 90 degree sand. Most people chuck the bushing in the drill press and press it down on a file or sand paper.
Then you need to shorten the stick tube 1/16" shorter then the bushing. The bushing gets clamped to the control column and the bushing should rotate in the stick tube. You don't want the bolt rotating in the bushing.