Brief Description: Flap - Rivet flap skins. Part 2.
The flaps are totally clecoed together with the exception of the main spar. I used the tungston bucking bar exclusively.
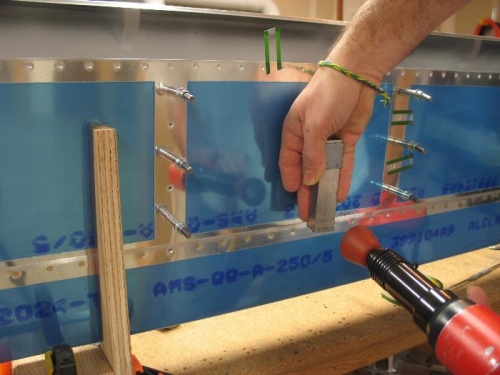
Image 1 - Holding the bucking bar vertically as shown I first riveted the span wize line of rivets where the 2 skins join.
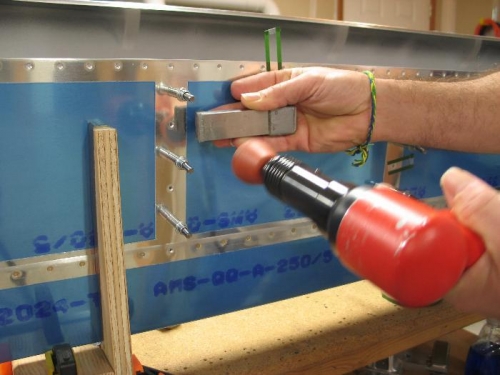
Image 2 - Holding the bucking bar as shown I riveted the 4 leading (top of picture) rivets skin to rib.
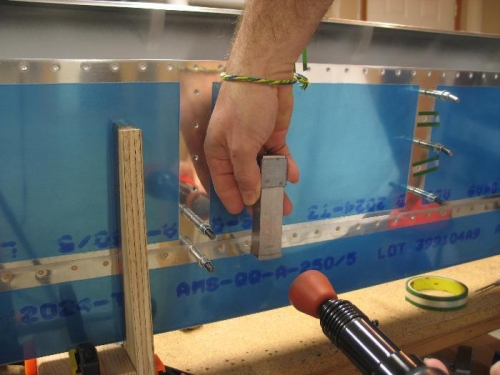
Image 3 - Holding the bucking bar vertical as shown I riveted the 2 remaining rivets where you see 2 clecoes. Do the leading (top of picture) rivet first. In this case the bucking bar is laying on the colume of rivets. This is why you must do the top of these two rivets first.
As you can see I wrapped tape around the end of the bucking bar to hold that end up such that the other side of the bucking bar is perpendicular to the rivet shank.
This bucking bar made easy work out of this tight spot.