Brief Description: Leading edge joint plate, Part2.
I worked out a procedure to attach the joint-plate plate-nuts with precision.
All #8 dimples are done. Don't dimple the holes attaching to the rib yet.
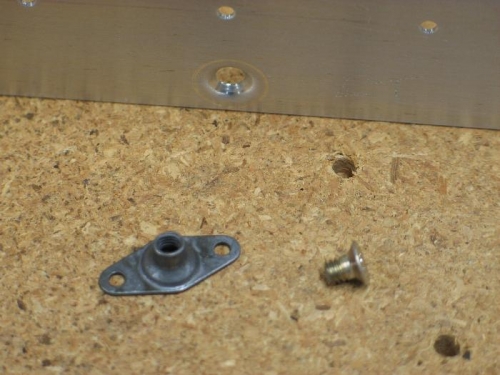
Cut a #8 screw real short to help hold the plate-nut steady and in position for both drilling and riveting the plate-nut attach holes.
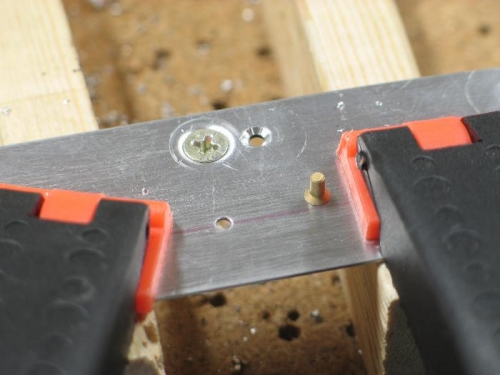
1.) Attach plate nut with short #8 screw and tighten. Use a cleco clamp on the plate-nut wing to keep the plate-nut from rotating while tightening the #8 screw. 2.) Drill one plate-nut attach hole, counter sink and rivet. 3.) Drill the other plate-nut attach hole, counter sink and rivet.
I would not remove the plate-nut after drilling the plate-nut attach hole to debur or anything. Just move right to the counter sink and rivet.
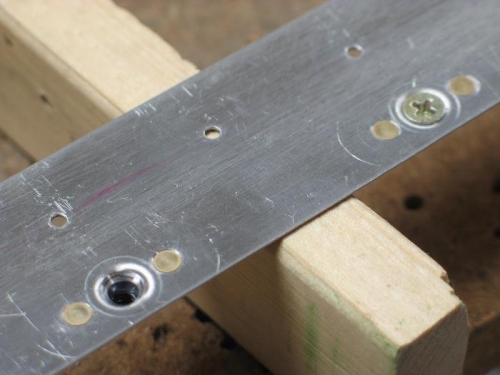
This procedure does 2 important things. 1.) The plate-nut is perfectly centered. 2.) The plate-nut attach rivets are perfectly flush.
When you're done, you can flex the joint-plate in a curve and see no distortion.