Brief Description: Leading edge joint plate, Part1.
Well now. This joint plate has caused me to ponder. The big question is those plate-nuts. The instructions simply say to dimple the plate-nut attach holes. Nothing else. Nothing about the complications of these guys following the airfoil curve. And, thes guys have to be precisly mounted. I've head others bending the plate-nut wings to follow the curve. Should these be mounted with the joint plate in a curve. If mounted on a straight joint plate will the joint plate distort when curved. The nut-plate attach holes have to be dimples as well. Well, lots of questions.
Othe logs didn't answer my questions.
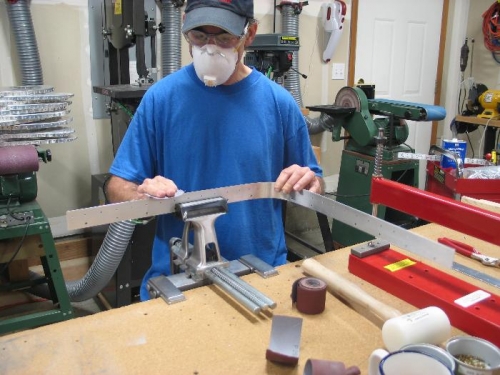
Image 1 started out as a totally clean table. This whole mess is simply doing my own tests on mounting plate-nuts. You see, the holes you drilled on this guy would be really hard to dublicate if you messed up and had to make another. On the rihgt side of image 1 you can see a couple of my tests. I guess the good thing is that by doing the tests my self, i've gained insite. 2 houes plus messing around.
The bottom line is - Mount the plate-nut on a straight joint plate. Counter sink, not dimple, the plate-nut attach holes.