Brief Description: Mark hole locations on HS forward spar. 2
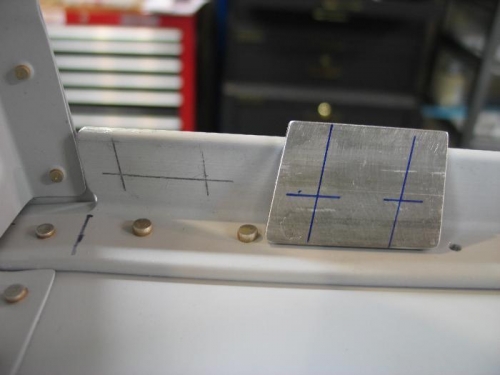
You know the plans don’t give a measurement for the hole locations on edge of the HS spar angle. Image 2 shows the horizontal line for 2 hole locations but no dimensions are called out for this line from the edge of the angle. I studied drawing page 27A Detail B to figure out the location of the hole from the edge of the HS spar angle. Take note that the HS spar 714 angle is 1/16” aft of the fuselage 710B angle underneath it. I noticed from this detail that the bolt is centered on the fuselage 710B angle. Its not centered on the available web but centered on the angle. 1” angle, ½” from edge of angle. Because the top HS spar 714 angle (the angle your are trying to mark) is aft 1/16 from the bottom fuselage angle, the distance from the edge of the HS 714 angle is 1/16” closer then ½” from the edge.
Now, I decided to drill the HS spar 714angle and associated 798 shim with the HS off the fuselage. This will give me perfectly located and straight holes to match drill through the fuselage. It gives me a quarter inch of material to match drill through the fuselage. I like it.
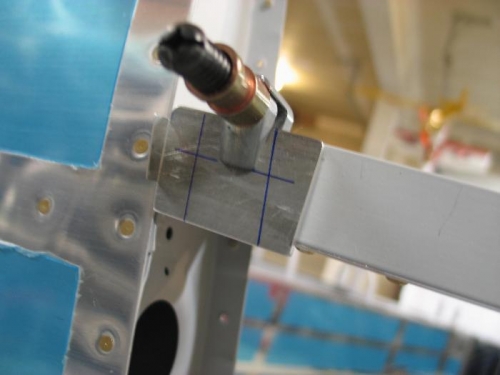
To drill the HS and shim I transferred the hole locations from the spar angle to the bottom side of the shim. Now I can drill the shim all by itself not attached to anything. Once the shims are drilled I’ll attach the shim to the spar angle with double sided tape and cleco clamp. Then match drill the spar angle through the previously drilled shim. Image 3 shows the shim clamped in place but I’ll remove the shim, drill it and clamp it back in place.