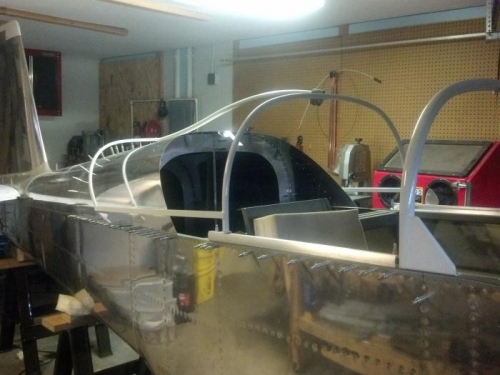
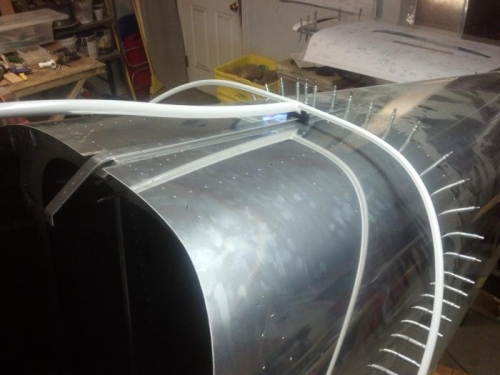
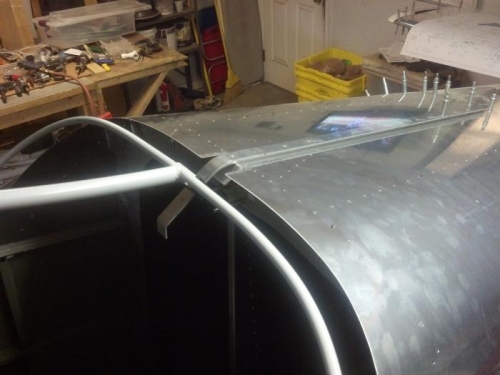
Started by installing the top skin, cleco'd from underneath to allow movement of the canopy frame. Drew a center line down the top skin marking the rivet / center line of the rib. Drilled 2 pilot "Screw" holes in the C-762 canopy slide rail, 1 forward, 1 aft. Positioned the slide rail on the center line, and 1/2" forward of the rivet line in the back. Double checked the clearance and drilled through the skin and rib using the pilot holes as a guide. cleco'd the slide rail in place, and checked the movement of the frame forward and back. The clearance couldn't be better... there is only about 1/4" on each side of the frame and skin.