Brief Description: Create Plywood Wing/Aileron Jig - Clamp Left Wing
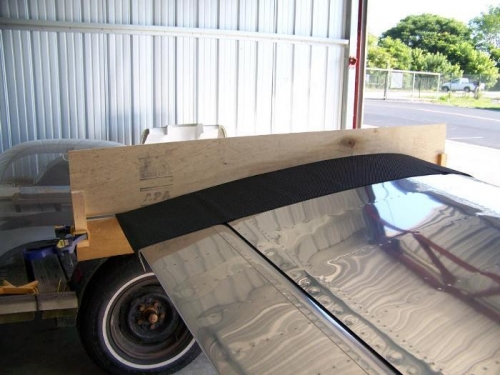
In order to install all of the aileron push rods there are a number of things that need to be held perfectly in place. The first thing needed was a way to clamp the aileron perferctly in trail with the profile of the wing. Van's provided a full scale paper template that I used to make a 2-piece plywood jig. I used a jig saw to make the cutout and then sanded the edges smooth. To prevent the jig from scratching the aluminum I layed a piece rubber drawer liner around the wing and then clamped the two halves of the jig to each other with the left wing and aileron sandwiched in between.
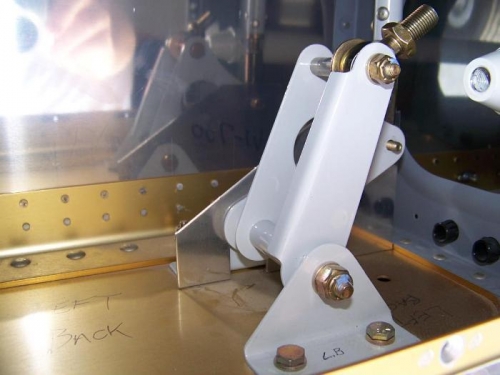
The next thing to set and lock into position was the left bellcrank inside the wing. Van's provided an aluminum jig (W-730) that I temporarily installed over the bellcrank for this purpose.
Once the left aileron and left bellcrank were in their correct positions it's time to adjust and install the pushrods.
Plywood wing profile jig clamped to left wing and aileron
Plywood wing profile jig clamped to left wing and aileron
W-730 aluminum bellcrank jig attached to left wing bellcrank