Brief Description: Install Pushrod Between Left Aileron & Bellcrank
Once the left aileron and the left bellcrank were held securely in their correct positions using their respective jigs I bolted one end of the short pushrod that connects the aileron to the bellcrank to the inboard aileron bracket using all of the appropriate washers and spacers.
The next step was to adjust the length of this pushrod such that the number of threads showing on each end were the same. This insures that if the jam nuts ever loosen that the pushrod will bottom out on one of the rod end bearings before unthreading and dropping out of the opposite rod end bearing. I want to make to make sure that all of the pushrods are centered this way and are long enough that they can never unthread from one rod end bearing before bottoming out on the opposite rod end bearing. Safety is the name of the game here as well as everywhere on this project.
Once the pushrod was set to its correct lengh I used high strength loctite and tightened, torqued, and sealed the jam nuts on each end against the rod end bearings.
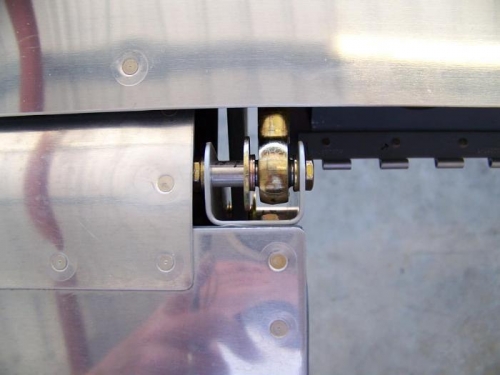
Left aileron pushrod bolted to inboard bracket - top view
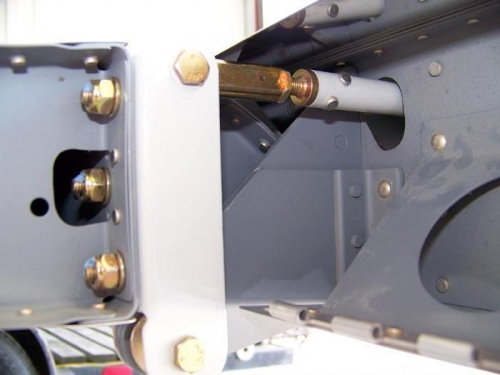
Left aileron pushrod bolted to aileron and jam nut tightened and sealed
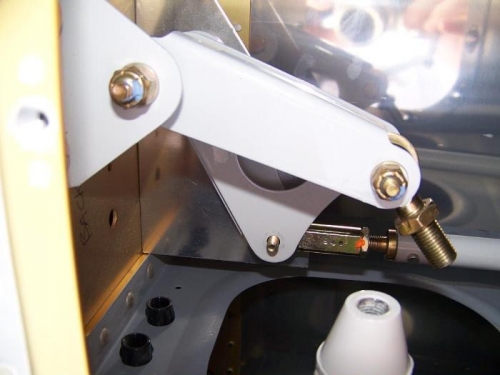
Left aileron pushrod adjusted to the proper length and jam nut tightened and sealed