
|
|
Dan's Web Site
|
Date: 2-25-2009
|
Number of Hours: 1.00
|
Manual Reference:
|
Brief Description: Countersink, Debur, Clean, Alodine Rivet Parts 5&6
|
|
Part 6 was then removed, deburred, cleaned, and then alodined. I also deburred the corresponding holes in part 5 and countersunk the lowest 2 holes for flush rivets, then cleaned and alodined this part as well.
Part 6 was then riveted to part 5 using as many solid rivets as could be reached with the squeezer. Cherry max rivets were used for the rest of the holes since I didn't have access to shoot or sqeeze these rivets.
Once the left aft corner assembly was complete (Parts 4, 5, and 6), I installed this back onto the engine. I had to do a little trimming of the lower flange between parts 5 and 6 before I could slip the assembly into place.
|
|
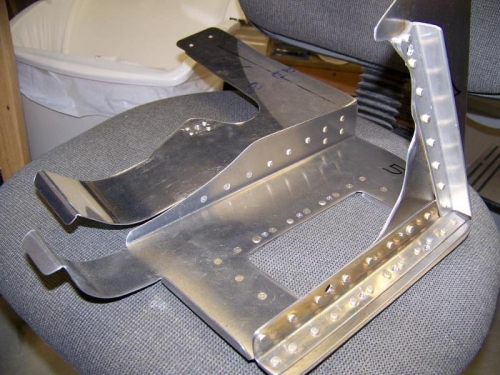
Part 6 riveted to parts 4 and 5
|
|
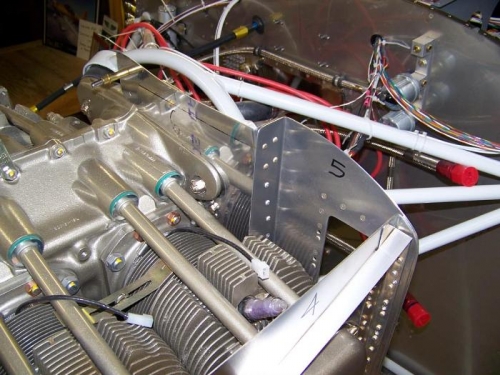
Left aft corner assembly - parts 4, 5, and 6 mounted to engine
|
|
|
|
|
|
|
|
|
Copyright © 2001-2024 Matronics. All Rights Reserved.
|