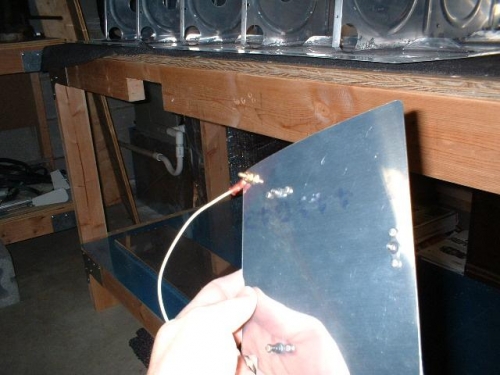
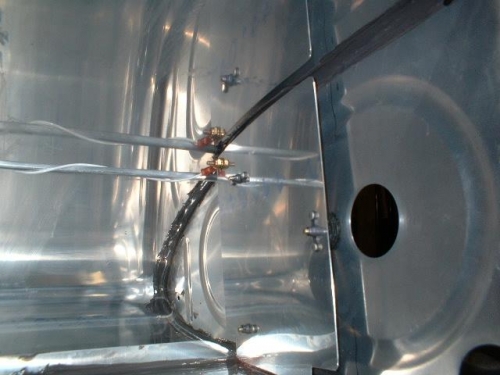
I cut a 48" piece of wire and crimped one end to an electrical fitting and then used a small screw and lock nut to attach it to the outboard capacitance plate. There are 4 black spacers and a short plastic tube to insulate the capacitance plate from the rib for each of the 3 mounting screws for a total of 12 spacers for each plate. I just realized that I am 2 spacers short and will be unable to mount the inboard plate and therefore close up the tank this weekend unless I can pursuade Van's to FedEx them. Bummer. I had one more trip to NY planned for this weekend to finish up the right tank with Ben and Matt's help. Maybe it will still work out. Once I had the outboard plate attached, I wound the wire that connects to the inboard plate around the vent line and through the little notches in each of the snap bushings that support the vent line through the ribs.
Crimp fitting to wire and bolt to outboard capacitance plate
Outboard capacitance plate attached; wire routed along vent