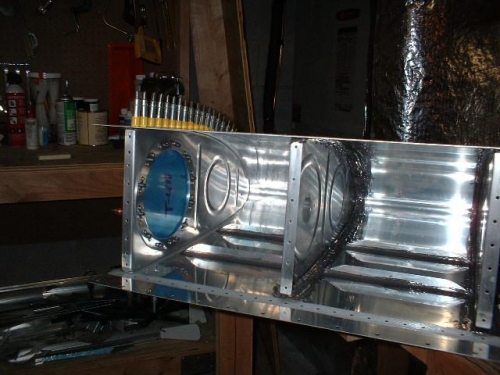
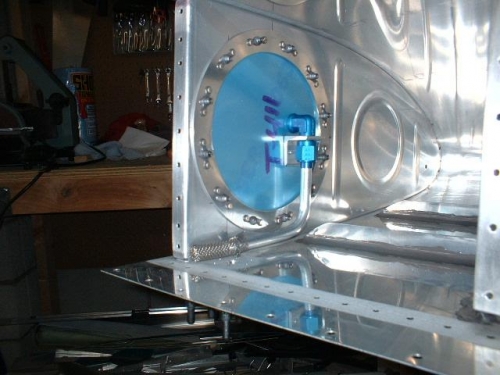
I deburred, scuffed, and dimpled the two end ribs and then clecoed the inboard rib to the tank. I then clecoed the access plate to the inboard rib and assembled the various fuel pickup fittings and anti-rotation bracket. Then I carefully positioned the fuel pickup assembly on the inside of the access plate such that the fuel pick up had a small slope so no water would pool in a low spot in the tube itself and so the tube would be in the bottom inside corner of the tank. Once everything was positioned where I wanted them, I outlined the anti-rotation bracket on the access plate. Then I disassembled everything in order to drill the pickup fitting and anti-rotation bracket to the access plate. I remembered to drill the 9/16" hole through the access plate first rather than the #30 holes that secure the anti-rotation bracket. It is MUCH easier this way. I did it backwards on the left tank and had a heck of a time drilling the 9/16" hole precisely where it needed to be after having drilled the #30 holes first. Everything turned out to be positioned great in both cases but was much easier to do on the right tank.
Cleco inboard rib and access plate to tank
End ribs deburred, scuffed, and dimpled
Fuel pickup fittings and anti-rotation bracket drilled